Order 24/7


StampinUp

Current Catalog

Holiday Catalog

Princess+Badge.png
Mojo Monday Blinkie

Copyright

The content in this blog (including text, photographs, and design work) is the sole responsibility and © of Shannon Jaramillo as an independent Stampin'Up! demonstrator. The use and content of classes, services or products offered are not endorsed by Stampin'Up!

Follow Me via Email

Enter your email address:

Social Links
Search

Entries in Wedding (5)

Thursday
Jan162014

Oh Happy Day! - Pals Paper Arts Sketch Challenge #188

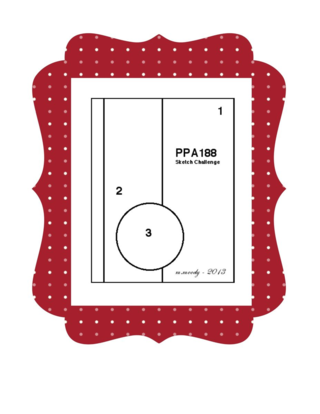
This card was inspired by this week's Pals Paper Arts sketch challenge:

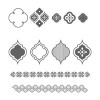
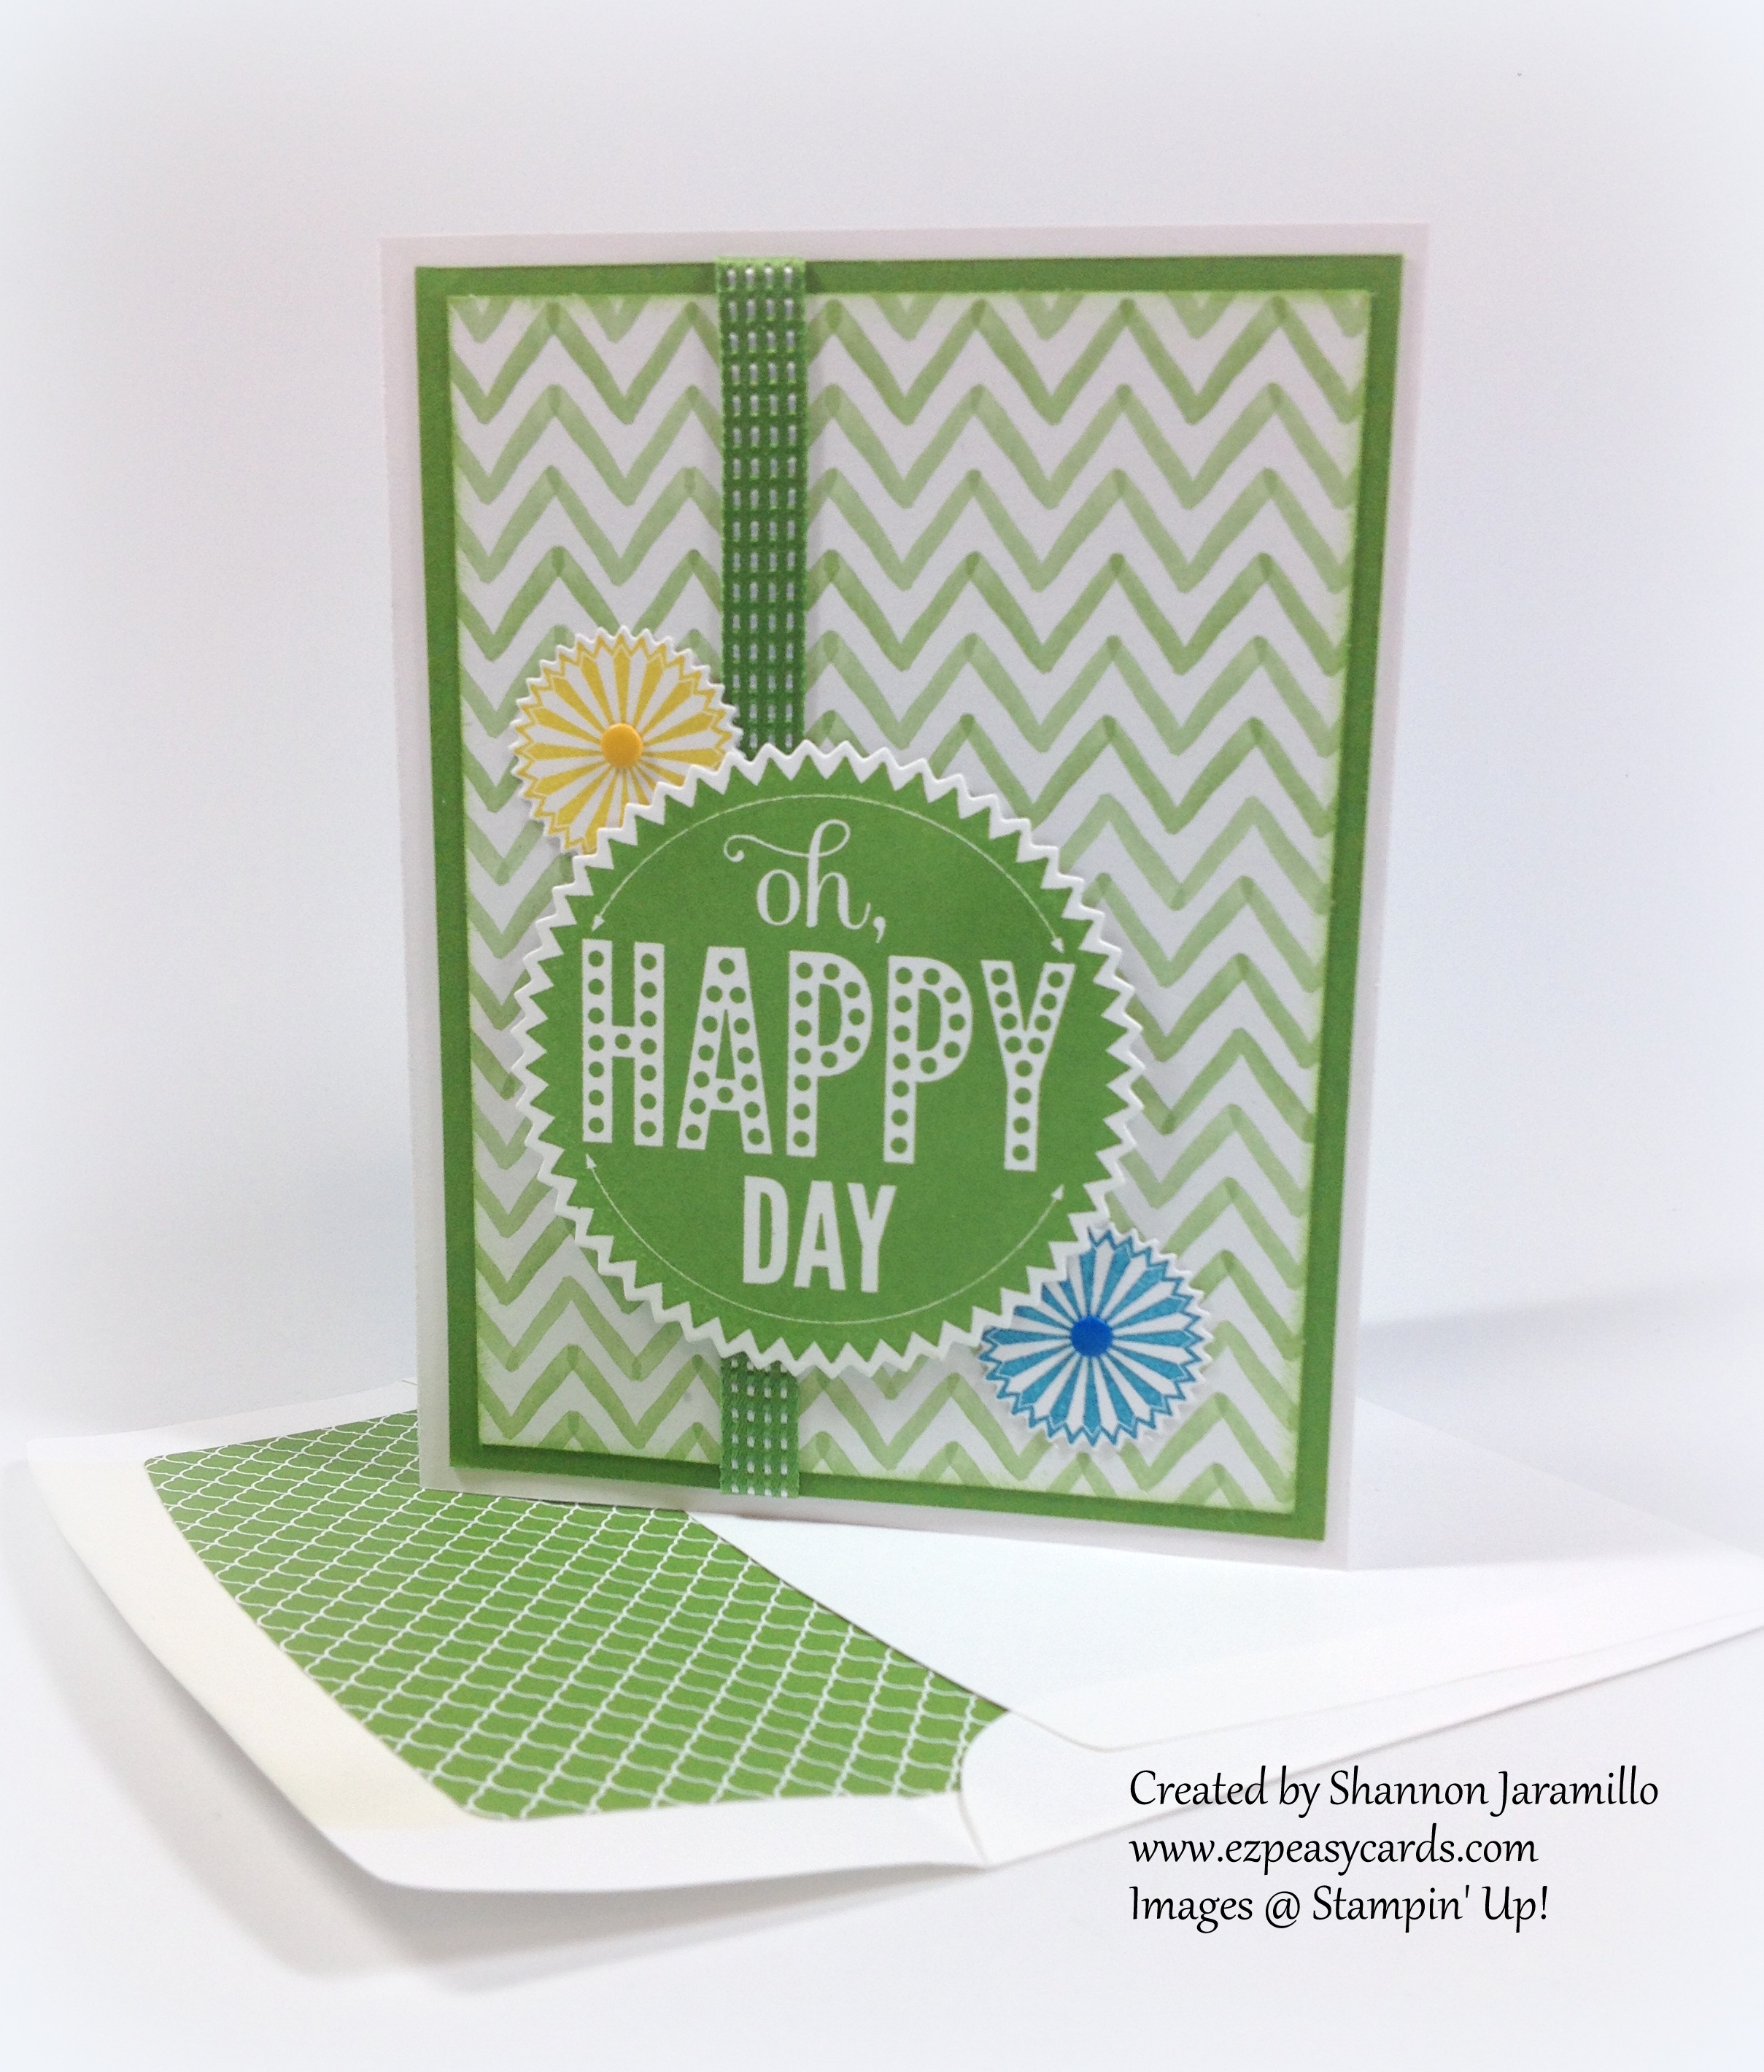
All of Stampin' Up!'s coordinating products make creating cards so much fun! The images on today's card are from the Starburst Sayings stamp set and coordinate perfectly with the Starburst Framelits Dies. You can even purchase the two products bundled together and save!

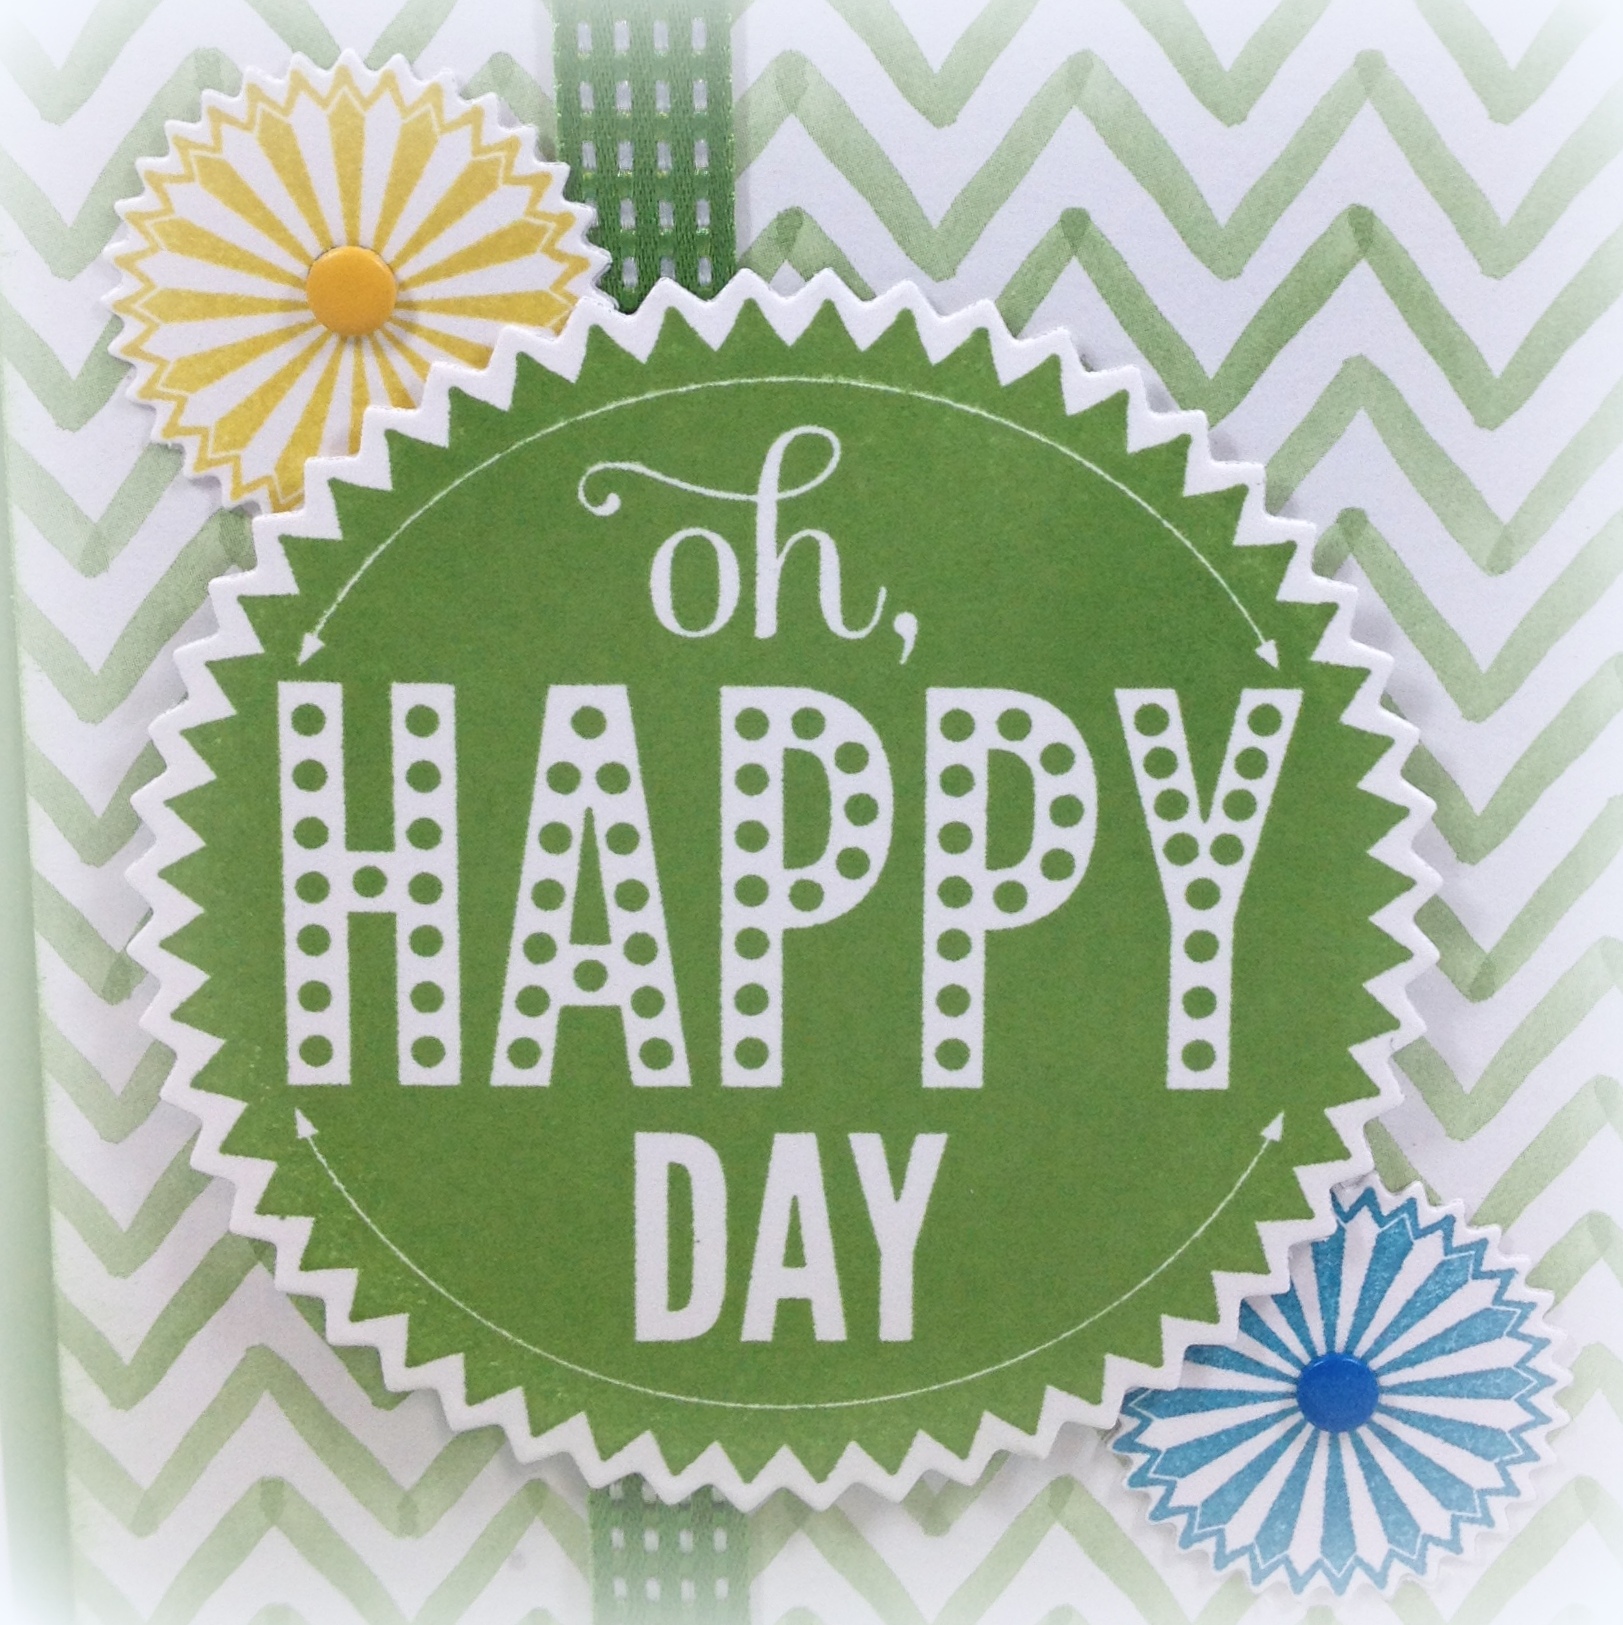
How about these cleanly stamped images! Stampin' Up!'s firm foam ink pads make make it so easy to achieve these results. And I'm wondering how I ever got by without framelits! One of the things I love about framelits is that worrying about placement is a thing of the past. Just place your stamped image on your magnetic platform, line the framelit die up on top, and run it through the Big Shot. EZ Peasy! The framelits don't move because of the magnetic base. It's worth every penny invested in it, in my opinion!

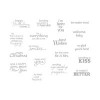
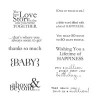
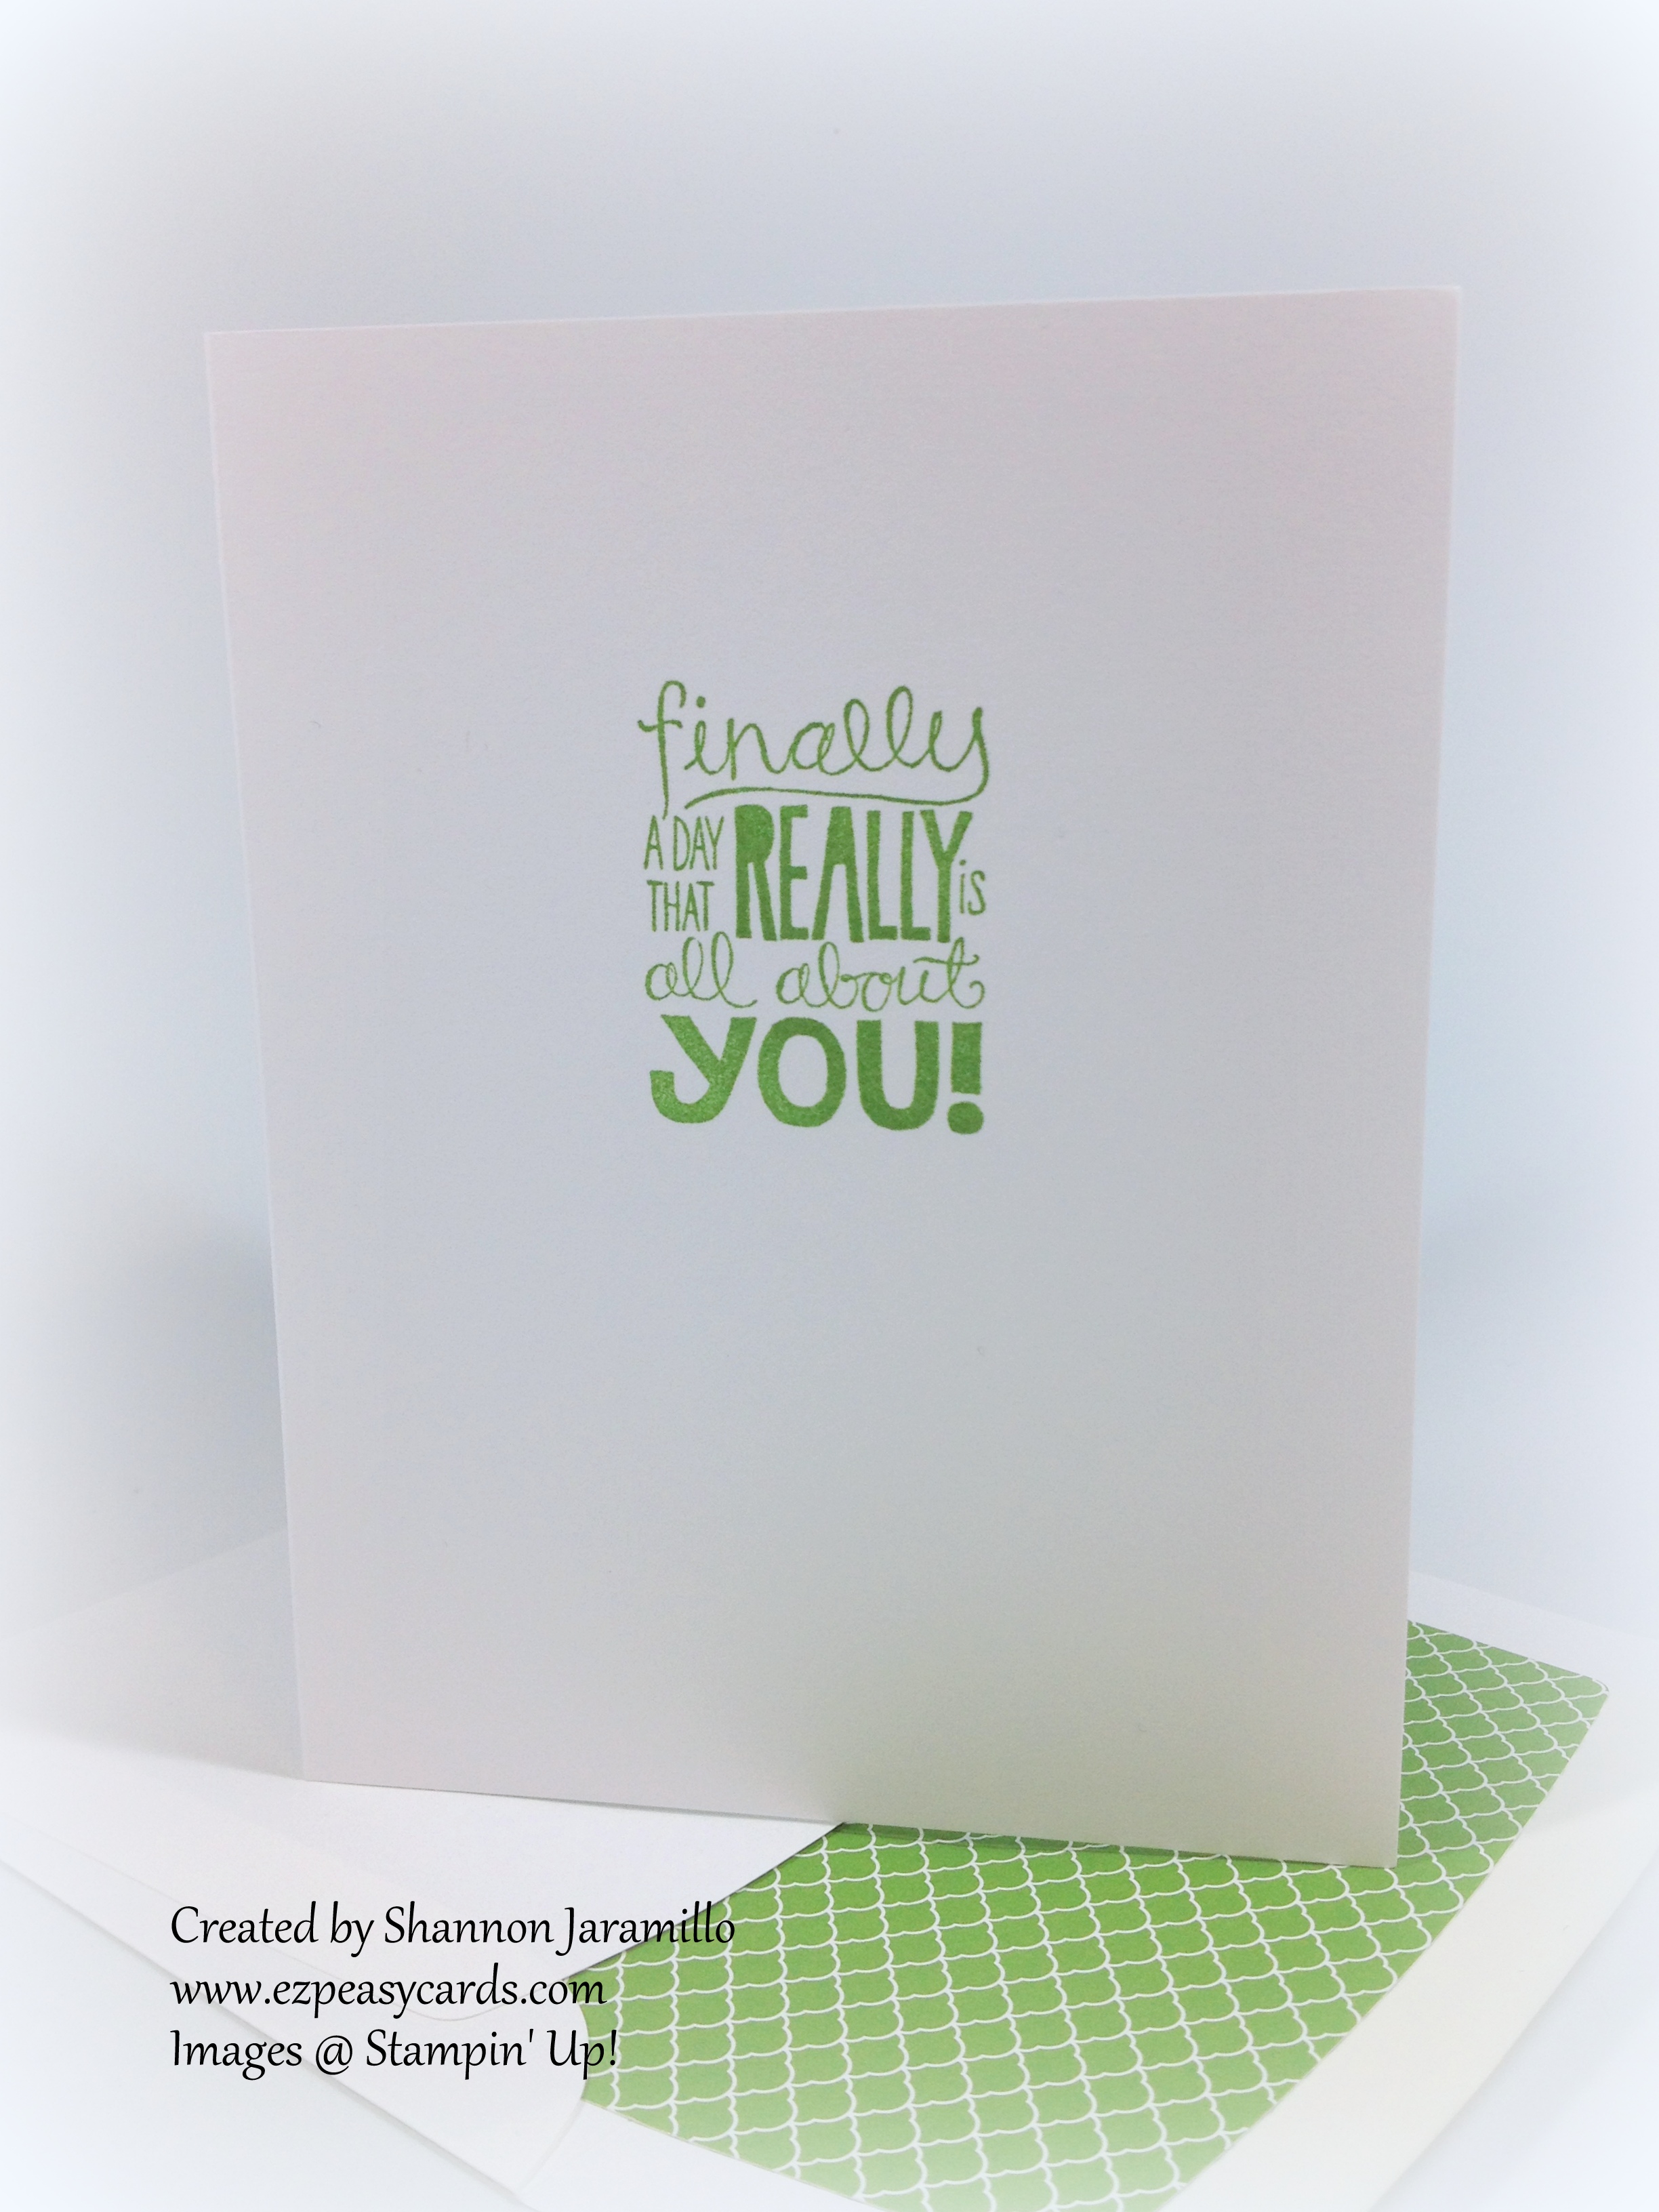
I found this sentiment in the Really Good Greetings stamp set and think it pairs perfectly with "Oh Happy Day". At first glance you might think birthday but really, this card is perfect for lots of occasions. Do you know someone who got a new job? How about a promotion or a great score on their SAT? Made the drill team? Passed the driver's license exam? Found out they are pregnant or approved for adoption? Truly, the choices are endless. Keep the layout and just change up the colors!

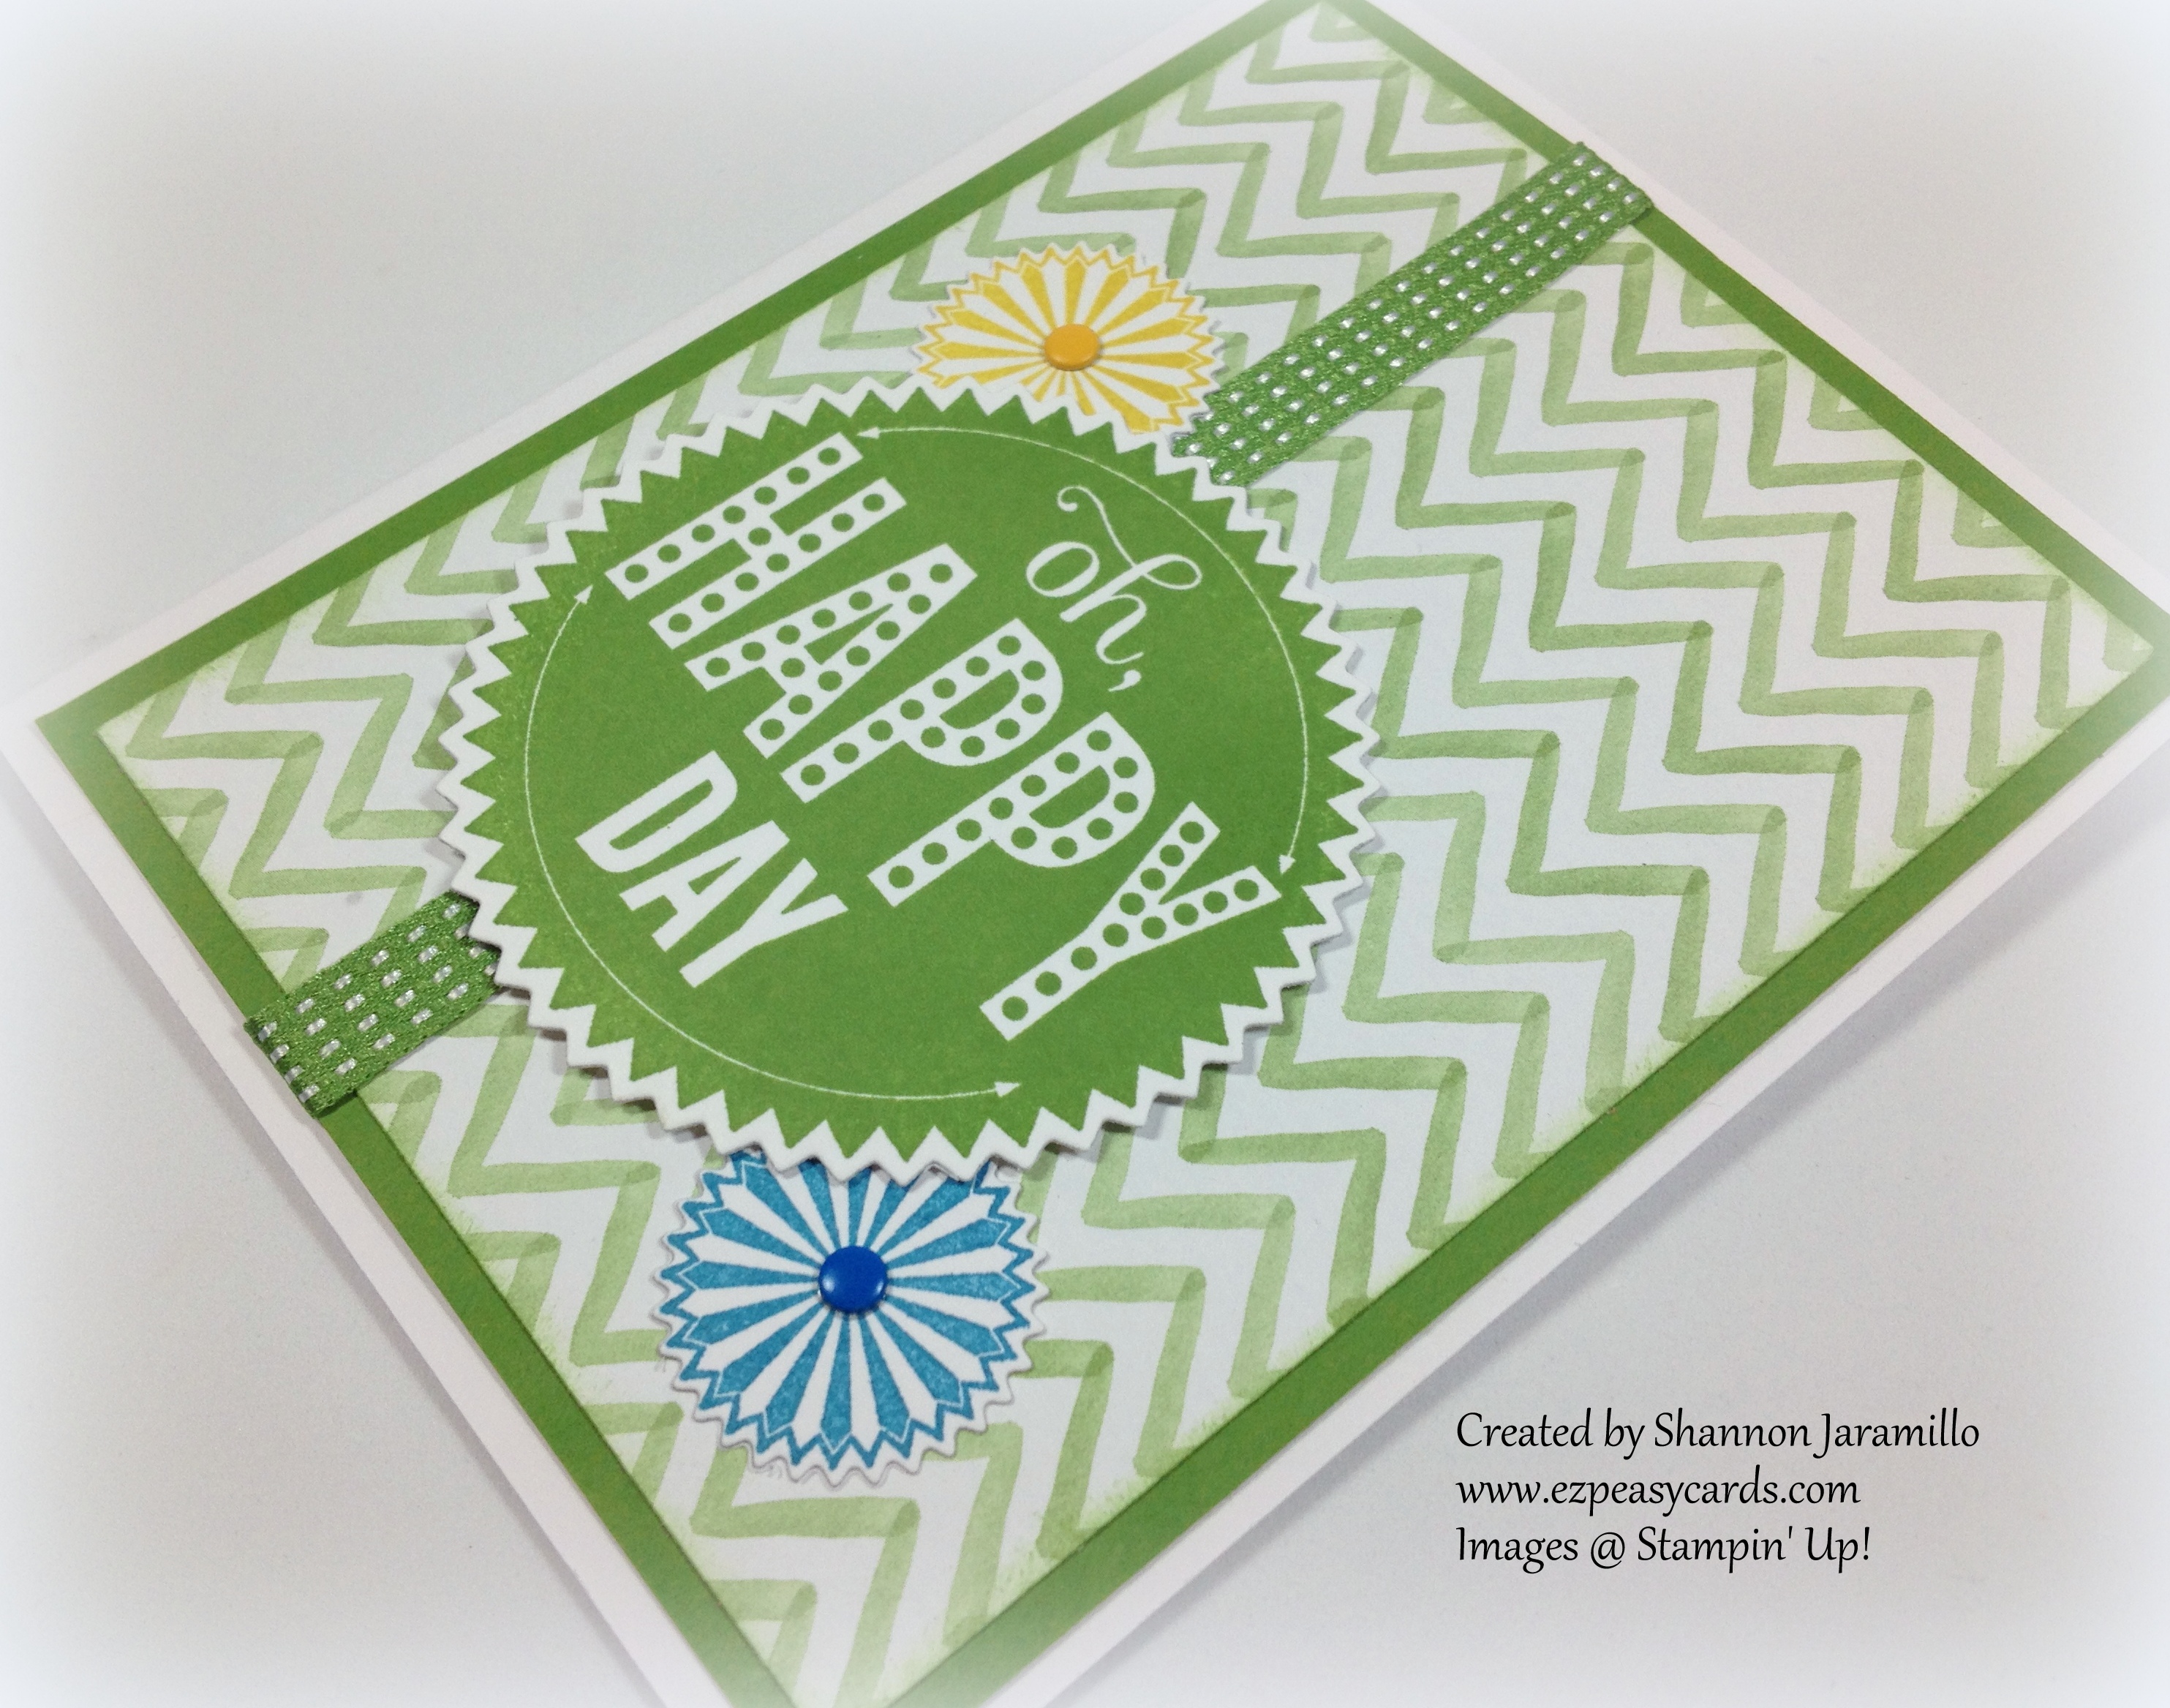
If you've followed my blog at all, I don't need to tell you how I feel about Candy Dots. If you haven't purchased them, please give them a try! They are the perfect accent! If you have purchased them, do you love them as much as I do? Have a funny story to share about how you've used them? Please leave me a comment and share, I would love to hear your thoughts!

I hope you've enjoyed today's post. Please take a moment to pop over to the Pals Paper Arts Challenge and see all the wonderful projects the design team has come up with for this challenge. They work very hard to give us fun and challenging projects every week!

Stampin Supplies:

Stamps: Starburst Sayings (133185), Really Good Greetings (130333)

Paper: Whisper White (100730), Gumball Green (126840) Cardstock; Watercolor Wonder (132994) Designer Series Paper, 2012-2014 In Color (130137) Designer Series Paper Stacks (for envelope)

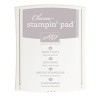
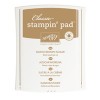
Ink: Gumball Green (126861), Summer Starfruit (126991), Pacific Point (126951) Classic Stampin' Pad

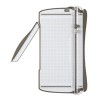
Tools:  Big Shot (113439); Envelope Liners Framelits Dies (132172); Starburst Framelits Dies (132967); Stampin' Trimmer (126889); Stampin' Dimensionals (104430)

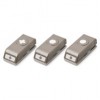
Embellishments: Brights (130931), Regals (130932) Candy Dots

Thanks for stopping by!

Tuesday
Oct012013

Wedding Wishes

My niece called me up recently, quite unexpectedly, to ask if she could purchase some cards from me...to say I was surprised is an understatement! I am thrilled to pieces that she would think of my cards and of course am sending her a care package as we speak!

Her request inspired me to create a few pieces, one of which is featured today. I went searching for inspiration on Pinterest and found this card by Nadine Weiner that I just had to case (copy and share everything)!

Can you see the lovely shimmer? This is the first opportunity I have had to use the Foil Sheets available in the Holiday Catalog and I have a new love! Such a beautiful subtle finish for a wedding card, don't you think? And I haven't pulled out the Hearts a Flutter stamp set and matching dies in quite a while...they look superb here stamped in Metallic Silver. And this pattern from the Eastern Elegance Designer Series Paper sets everything off wonderfully!

And of course, what would a wedding be without a few pearls? I'm adding a few other cards to my niece's care package and will share some of them with you over the next few weeks. I'm hoping she enjoys using them!

Stampin Supplies:

Stamps: Hearts a Flutter (129252), Delightful Dozen (122652)

Paper: Whisper White (100730), Smoky Slate (131202) Cardstock; Silver (132178) Foil Sheets; Eastern Elegance (130131) Designer Series Paper

Ink: Silver (132142) Metallic Encore Pad, Smoky Slate (131179) Classic Stampin' Pad

Tools: Big Shot (113439), Envelope Liners Framelits Dies (132172), Hearts a Flutter Framelit Dies, Stampin' Trimmer (126889), Stamp-A-Ma-Jig (101049), Stampin' Dimensionals (104430)

Embellishments: Pearl Basic Jewels (119247)

Thanks for stopping by!


Saturday
Jun082013

Mosaic Madness Mr & Mrs

Follow Me on Pinterest

Today's project is a CASE from page 72 of the new Stampin' Up! Catalog...I needed a wedding card and just fell in love with the simple elegance of this card! Love, love, love the combination of Crushed Curry and Smoky Slate!

The coordinating stamps in the new Mosaic Madness stamp set give you endless creative possibilities and the matching Mosaic Punch just makes putting this card together a snap! I did make an adjustment to the original card by layering the Very Vanilla top layer onto a layer of Smoky Slate and Crushed Curry. I thought the added layers of color gave the card a bit of 'POP'!

I don't currently own the Ticket Duo Builder Punch (gasp!) so I improvised! I have LOTS of thin strips of Whisper White cardstock in my scrap pile so I chose one and stamped this lovely image from the Petite Pairs stamp set. I snipped the strip down to what I thought looked like the appropirate length and then snipped again on the top and bottom until it looked right. Next I took my circle punch from the Itty Bitty Shapes Punch Pack and inserted the ends of my paper in and punched half circles on all four corners and voila! an itty bitty ticket shape! I then used my Stampin' Trimmer to trim down a scrap piece of Crushed Curry cardstock to layer behind the sentiment and snipped the ends into a banner. A few Stampin' Dimensionals for added depth and four itty bitty Pearl Basic Jewels for the jewelry.

I forgot to snap a picture of the inside of the card but I added the sentiment "Wishing You a Lifetime of Happiness" from the One in a Million stamp set.

I hope you have a wonderful weekend...I plan to spend some time in my stamp room playing with my new goodies, setting up my fall class schedule, and preparing to share some of my organizational tips in upcoming posts.

If you haven't browsed through the new catalog yet, click here and take a few minutes to thumb through...it's wonderful! Or if you prefer to have the actual catalog in hand, Please contact me, I would love to send you a complimentary copy with a only $5 shipping cost. 

Stampin Supplies:

Stamps: Mosaic Madness (130249), Petite Pairs (122497), One in a Million (126382)

Paper: Very Vanilla (101650), Crushed Curry (131199), Smoky Slate (131202) Cardstock

Ink: Crushed Curry (131173), Smoky Slate (131179), Baked Brown Sugar (131174) Classic Stampin' Pad

Tools: Stampin' Trimmer (126889), Mosaic Punch (131267), Itty Bitty Shapes Punch Pack (118309)

Embellishments:  Pearl Basic Jewels (119247)

Thanks for stopping by!

Monday
Jun252012

Love and Laughter - Freshly Made Sketches #40

Follow Me on Pinterest

Last night my husband and I were out fairly late and he could see when we got home that I was antsy. When he asked, I told him that I had really wanted to participate in a challenge but only had until Monday to do it. As I work during the day and it was 9:45pm on Sunday night, obviously this was a long shot for me. He asked "Can you do it in a half an hour?" Pregnant pause...then, "Yes I can!!" So I ran upstairs and put this card together. I had no idea what I was going to create when I sat down but I had the layout and that is often the hardest part!

Here is the sketch this week over at Freshly Made Sketches: (I love their clean and simple style!)

 In place of the oval shape (which I do not own) I chose to use the Labels Collection Framelits Die. Next, I picked an image from the Love and Laughter stamp set (one of my favorites) and then browsed through my Designer Series Paper for a wedding-y paper.

I selected a pattern in Summer Starfruit (mmm, yummy color!) from the Patio Party Designer Series Paper collection. Then I grabbed my trusty Color Coach and found that Baja Breeze would be a good compliment to Summer Starfruit. I chose a piece in Baja Breeze with a nice complimentary pattern from the Designer Series Paper Patterns Pack. I placed my Labels Framlit Die on a piece of Whisper White CS and ran it through the Big Shot.

Next I adhered my pieces of DSP to the die cut piece of Whisper White CS and using it as a guide, placed the die over my DSP and ran everything through the Big Shot again to create my frame. The CS on the back is what is holding everything together! Then I attached a bit of 1/8" Taffeta Ribbon in Baja Breeze to each side of the frame to cover up the seams. I then stamped my image in Basic Grey ink on another piece of Whisper White CS. I adhered Dimensionals to the underside of my frame and, after lining it up with my stamped image, adhered everything together so that the frame is elevated.

I chose to use Basic Gray as the background paper to compliment the ink used. I stamped the sentiment in Basic Grey ink and handcut the banner. For the cake topper, I used my Stampin' Write Markers to ink up the image in Summer Starfruit and Marina Mist (slightly brighter than Baja Breeze so it would stand out better). Added some Basic Pearls for a touch of bling and done!

I'm really pleased with how this card came together. It feels bright and cheery to me. Oh...and it only took 35 minutes to create!

Thanks SO MUCH for stopping by!


Sunday
Jun032012

Stampin' Write Markers Class

Follow Me on Pinterest

Hi There! I just wanted to check in today at the conclusion of a wonderful afternoon of stamping! I held a class today that focused on different ways of using Stampin' Write Markers. I decided to showcase the stamp set Easy Events as it works great for using markers and is well suited to a variety of cards. This is a GREAT starter set!

On this card we colored the stamped image (for best result always use Staz-On ink) directly with our markers. I just LOVE the combination of Calypso Coral and Pool Party, the just seem like the perfect summer colors! (Card design CASE'd from Linda Barttolucci)

I hope you can see that we also added a bit of Dazzing Details (glitter adhesive) to the cherry and the cake stand for a bit of glitz. The shimmer sure packs a lot of WOW punch!

For our second card we used our Stampin' Write Markers and a Blender Pen to achieve a watercolored effect. This card features one of our new 2012-2014 In-Colors Raspberry Ripple together with one of our 2011-2013 In Colors Lucky Limeade. I think they look great together! (Card design CASE'd from Mindy Backes)

Our last card focused on using the Stampin' Write Markers to color directly onto the stamp which allows us to apply more than one color at once. A few Basic Pearls add a big WOW factor to this card. I can't wait for someone to get married so I can use this card! (card design CASE'd)

If you would like to learn more about these or other techniques please check out my events schedule!

Supplies:

Stamp Sets: Easy Events #123225, Petite Pairs #122497 (wedding card)

DSP: Sweet Shop (retired), 2013 In-Color Designer Series Paper Stacks

Ink: Soft Suede, Calypso Coral, Pool Party, Lucky Limeade, Marina Mist, Certainly Celery Stampin' Write Markers, Staz-On Black Ink

Cardstock: Pool Party, Calypso Coral, Lucky Limeade, Very Vanilla, River Rock, Marina Mist

Tools: Cupcake Builder Punch, Dazzling Details, 3/8" Ruffled Ribbon in Pool Party, 1/8" Ribbon in Calypso Coral (SAB), Labels Collection Framelits, Dotted Scallop Ribbon Border Punch, Small Heart Punch, Elegant Bouquet Embossing Folder, Decorative Label Punch, 3/8" Taffeta Ribbon in Very Vanilla (retired), Basic Pearls

Thanks for stopping by!