Order 24/7


StampinUp

Current Catalog

Holiday Catalog

Princess+Badge.png
Mojo Monday Blinkie

Copyright

The content in this blog (including text, photographs, and design work) is the sole responsibility and © of Shannon Jaramillo as an independent Stampin'Up! demonstrator. The use and content of classes, services or products offered are not endorsed by Stampin'Up!

Follow Me via Email

Enter your email address:

Social Links
Search
Saturday
Feb012014

Clean and Simple Saturday - Feeling Blue

Happy Saturday to you! Today's card was inspired by something on saw on Pinterest (perhaps) but I can't find it again to give credit. I just loved the way this flower blossom stamp from the Petal Parade stamp set frames the sentiment.

I stamped the flower in Bermuda Bay and used a piece of coordinating cardstock behind it to help it pop off the card. The sentiment is stamped in Island Indigo.

And of course, we need a little sparkle! I lightly went over the stamped image with Dazzling Details, I just love the way it shines!

So there you have it. Two stamps, two colors, and a bit of sparkle. The choices to change it up to personalize for the occasion or the recipient are endless! The stamp set Petal Parade is free with any $50 purchase during Sale-a-bration!

Enjoy your weekend and thank you SO MUCH for stopping by!

Stampin' Supplies:

Thursday
Jan302014

Hello, Lovely Notecard Set

I received this stamp set free when I attended Convention last summer and sadly, have neglected it all this time. So I pulled it out, determined to make a set of note cards with it!

I only used four colors; Crushed Curry, Bermuda Bay, Calypso Coral and Old Olive, and added a few sentiments from the A Dozen Thoughts stamp set.


The Stamp-A-Ma-Jig makes lining this stamp up easy! A quick sentiment from the A Dozen Thoughts stamp set and rhinestones add just the right touch!

Another stamp from the Helly, Lovely stamp set in a different configuration, again a sentiment from the A Dozen Thoughts stamp set, more rhinestones, and a layer of Silver Glimmer Paper for lots of sparkle!

Cute little arrows reinforce the sentiment and rhinestones make it pop!

And of course, the ampersand! To achieve this look, I simply stamped the first image and then stamped again without re-inking. I started from one side, used my Stamp-A-Ma-Jig and hoped for the best. I think they lined up well! For the rhinestones I channeled Ann Schach...I definitely used more that I usually do!

There you go! Simple and fun. And the best part is...four of these cards and their envelopes all fit very nicely inside one of Stampin' Up!'s clear envelopes. Perfect size for a teacher or hostess gift!

Stampin Supplies:

Monday
Jan272014

My Digital Studio Monday - Week One

Hold on to your hats stampers! I am moving into uncharted territory! lol

If you are not aware, Stampin' Up! has digital scrapbooking software! It's called My Digital Studio, or MDS for short, and the start up package is only $24.95. Really! AND, they have a free trial version!

I've had it for years but have been reluctant to dive in. Well, no more!

I belong to a Facebook group that issues one MDS challenge per week, with a video of instructions to go along with it. Well, I have really just been lurking there, but I have finally taken the plunge!

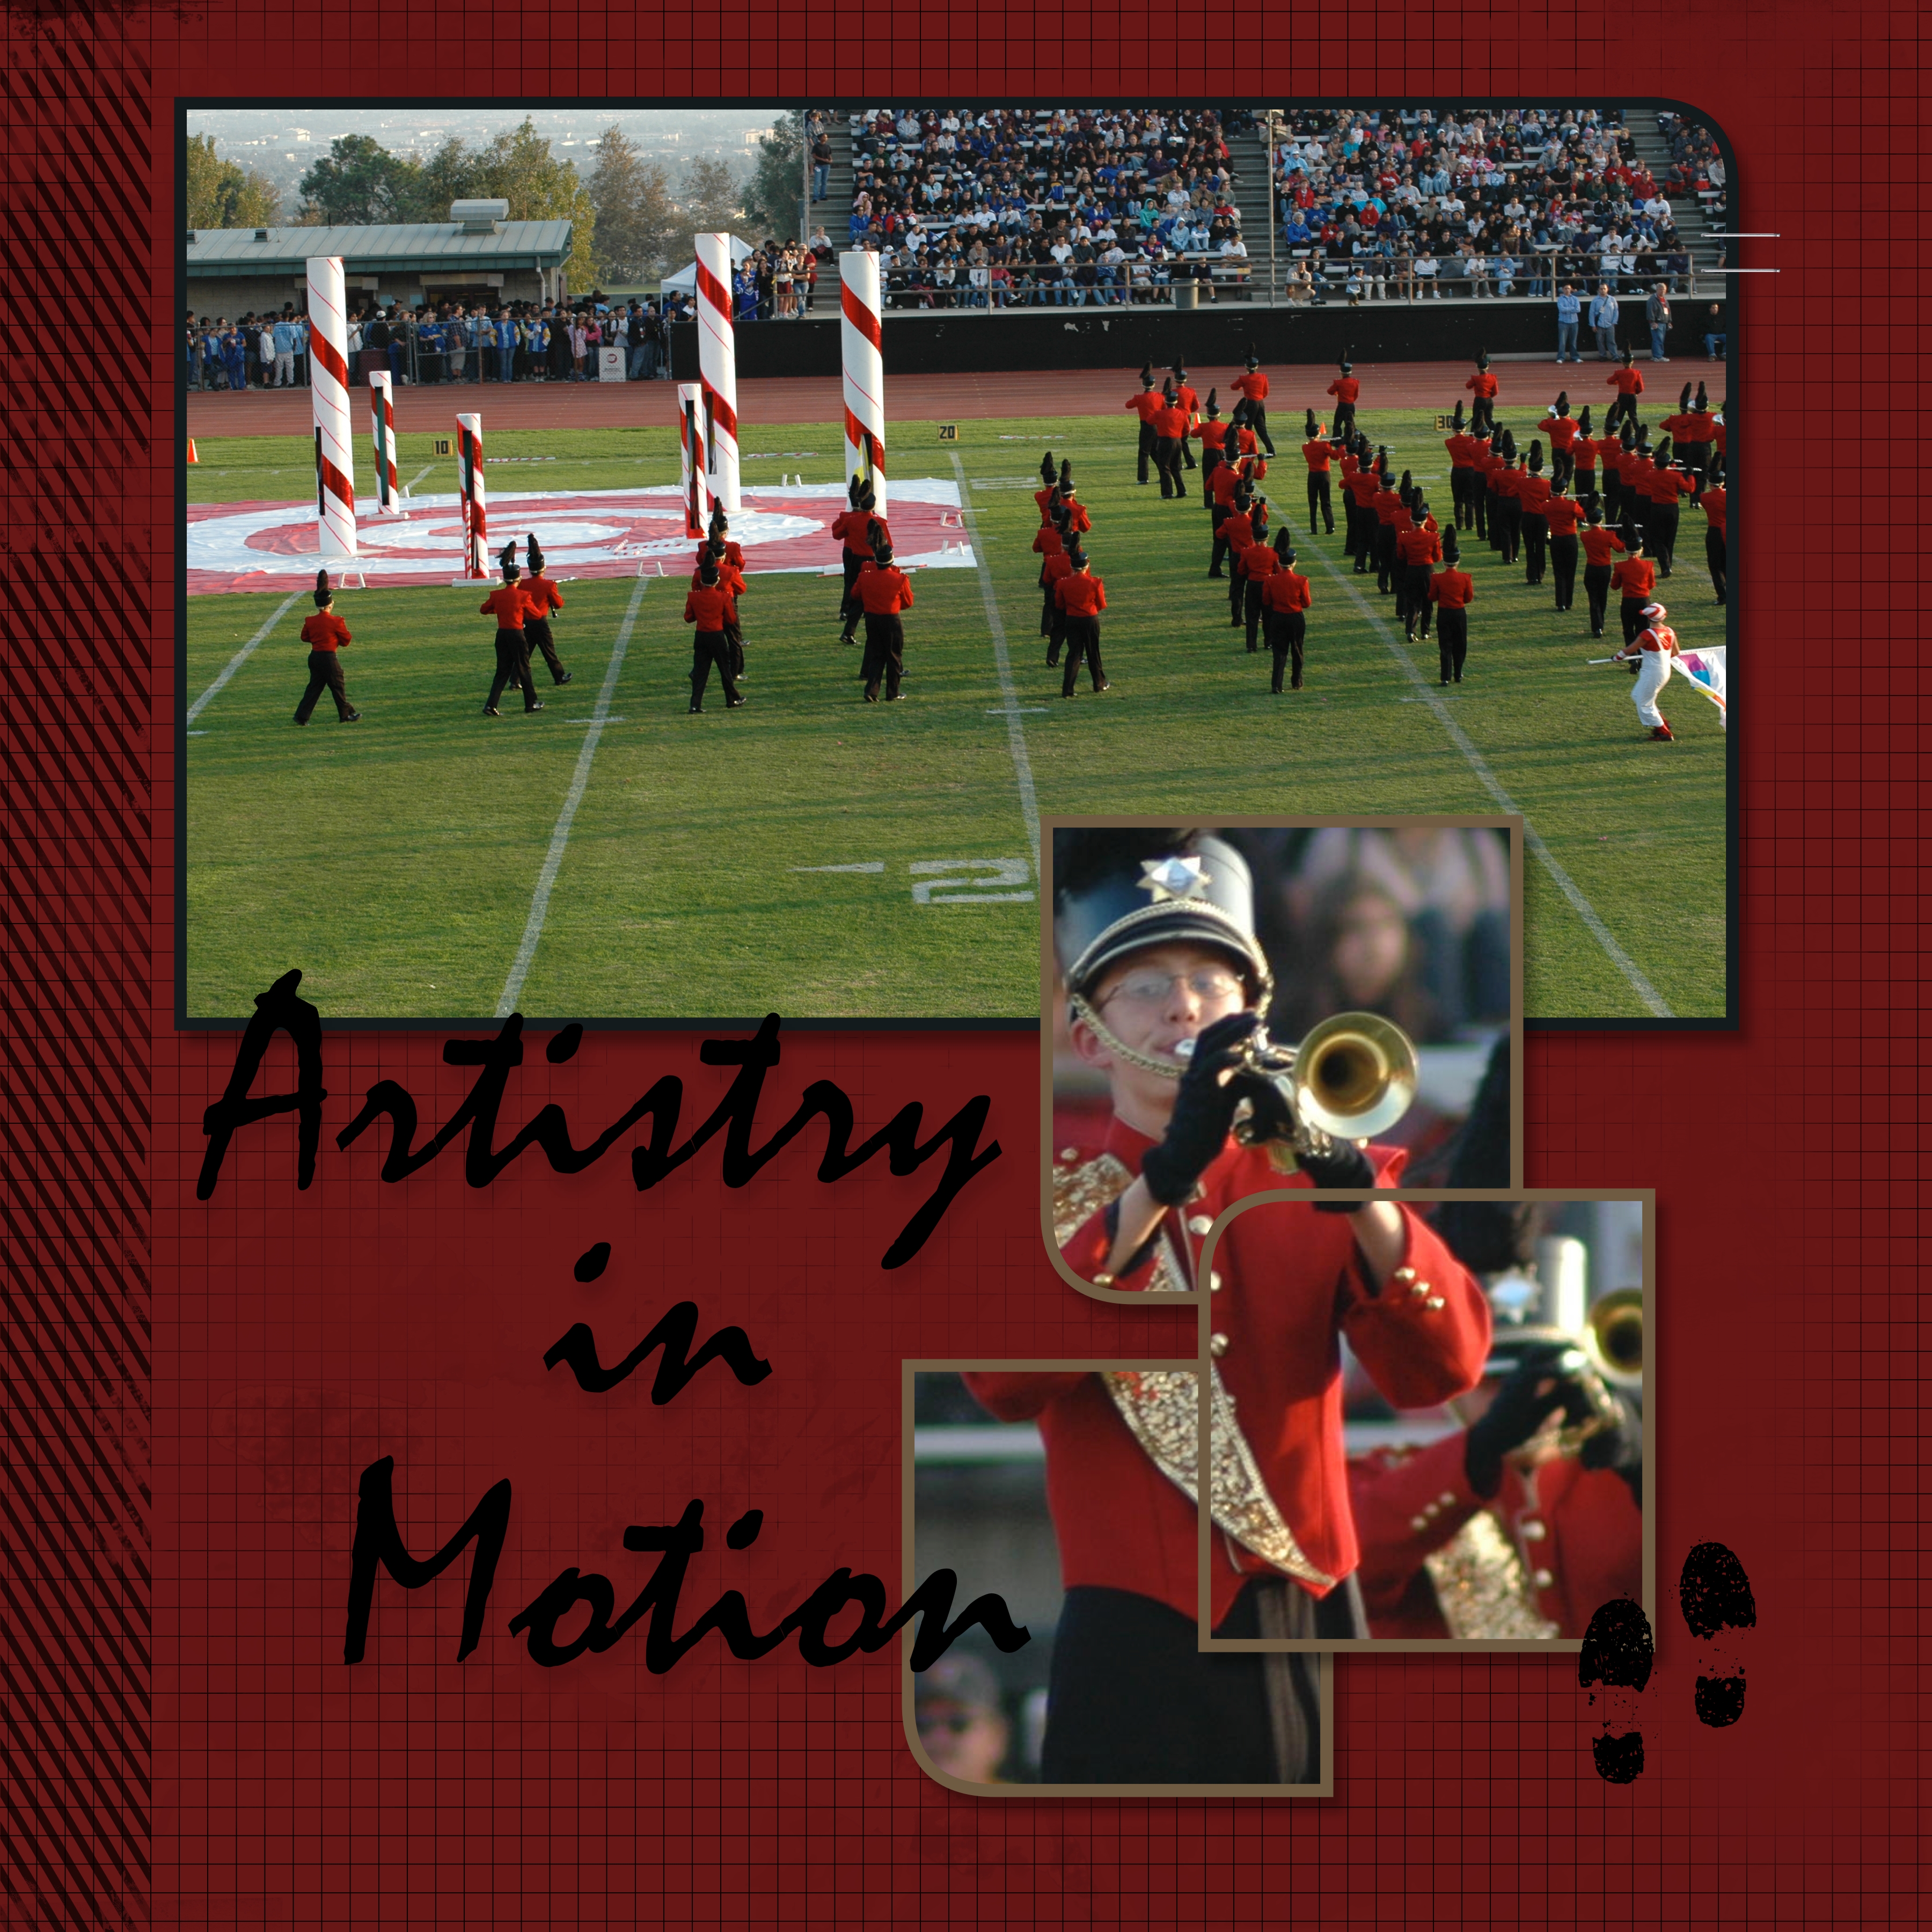
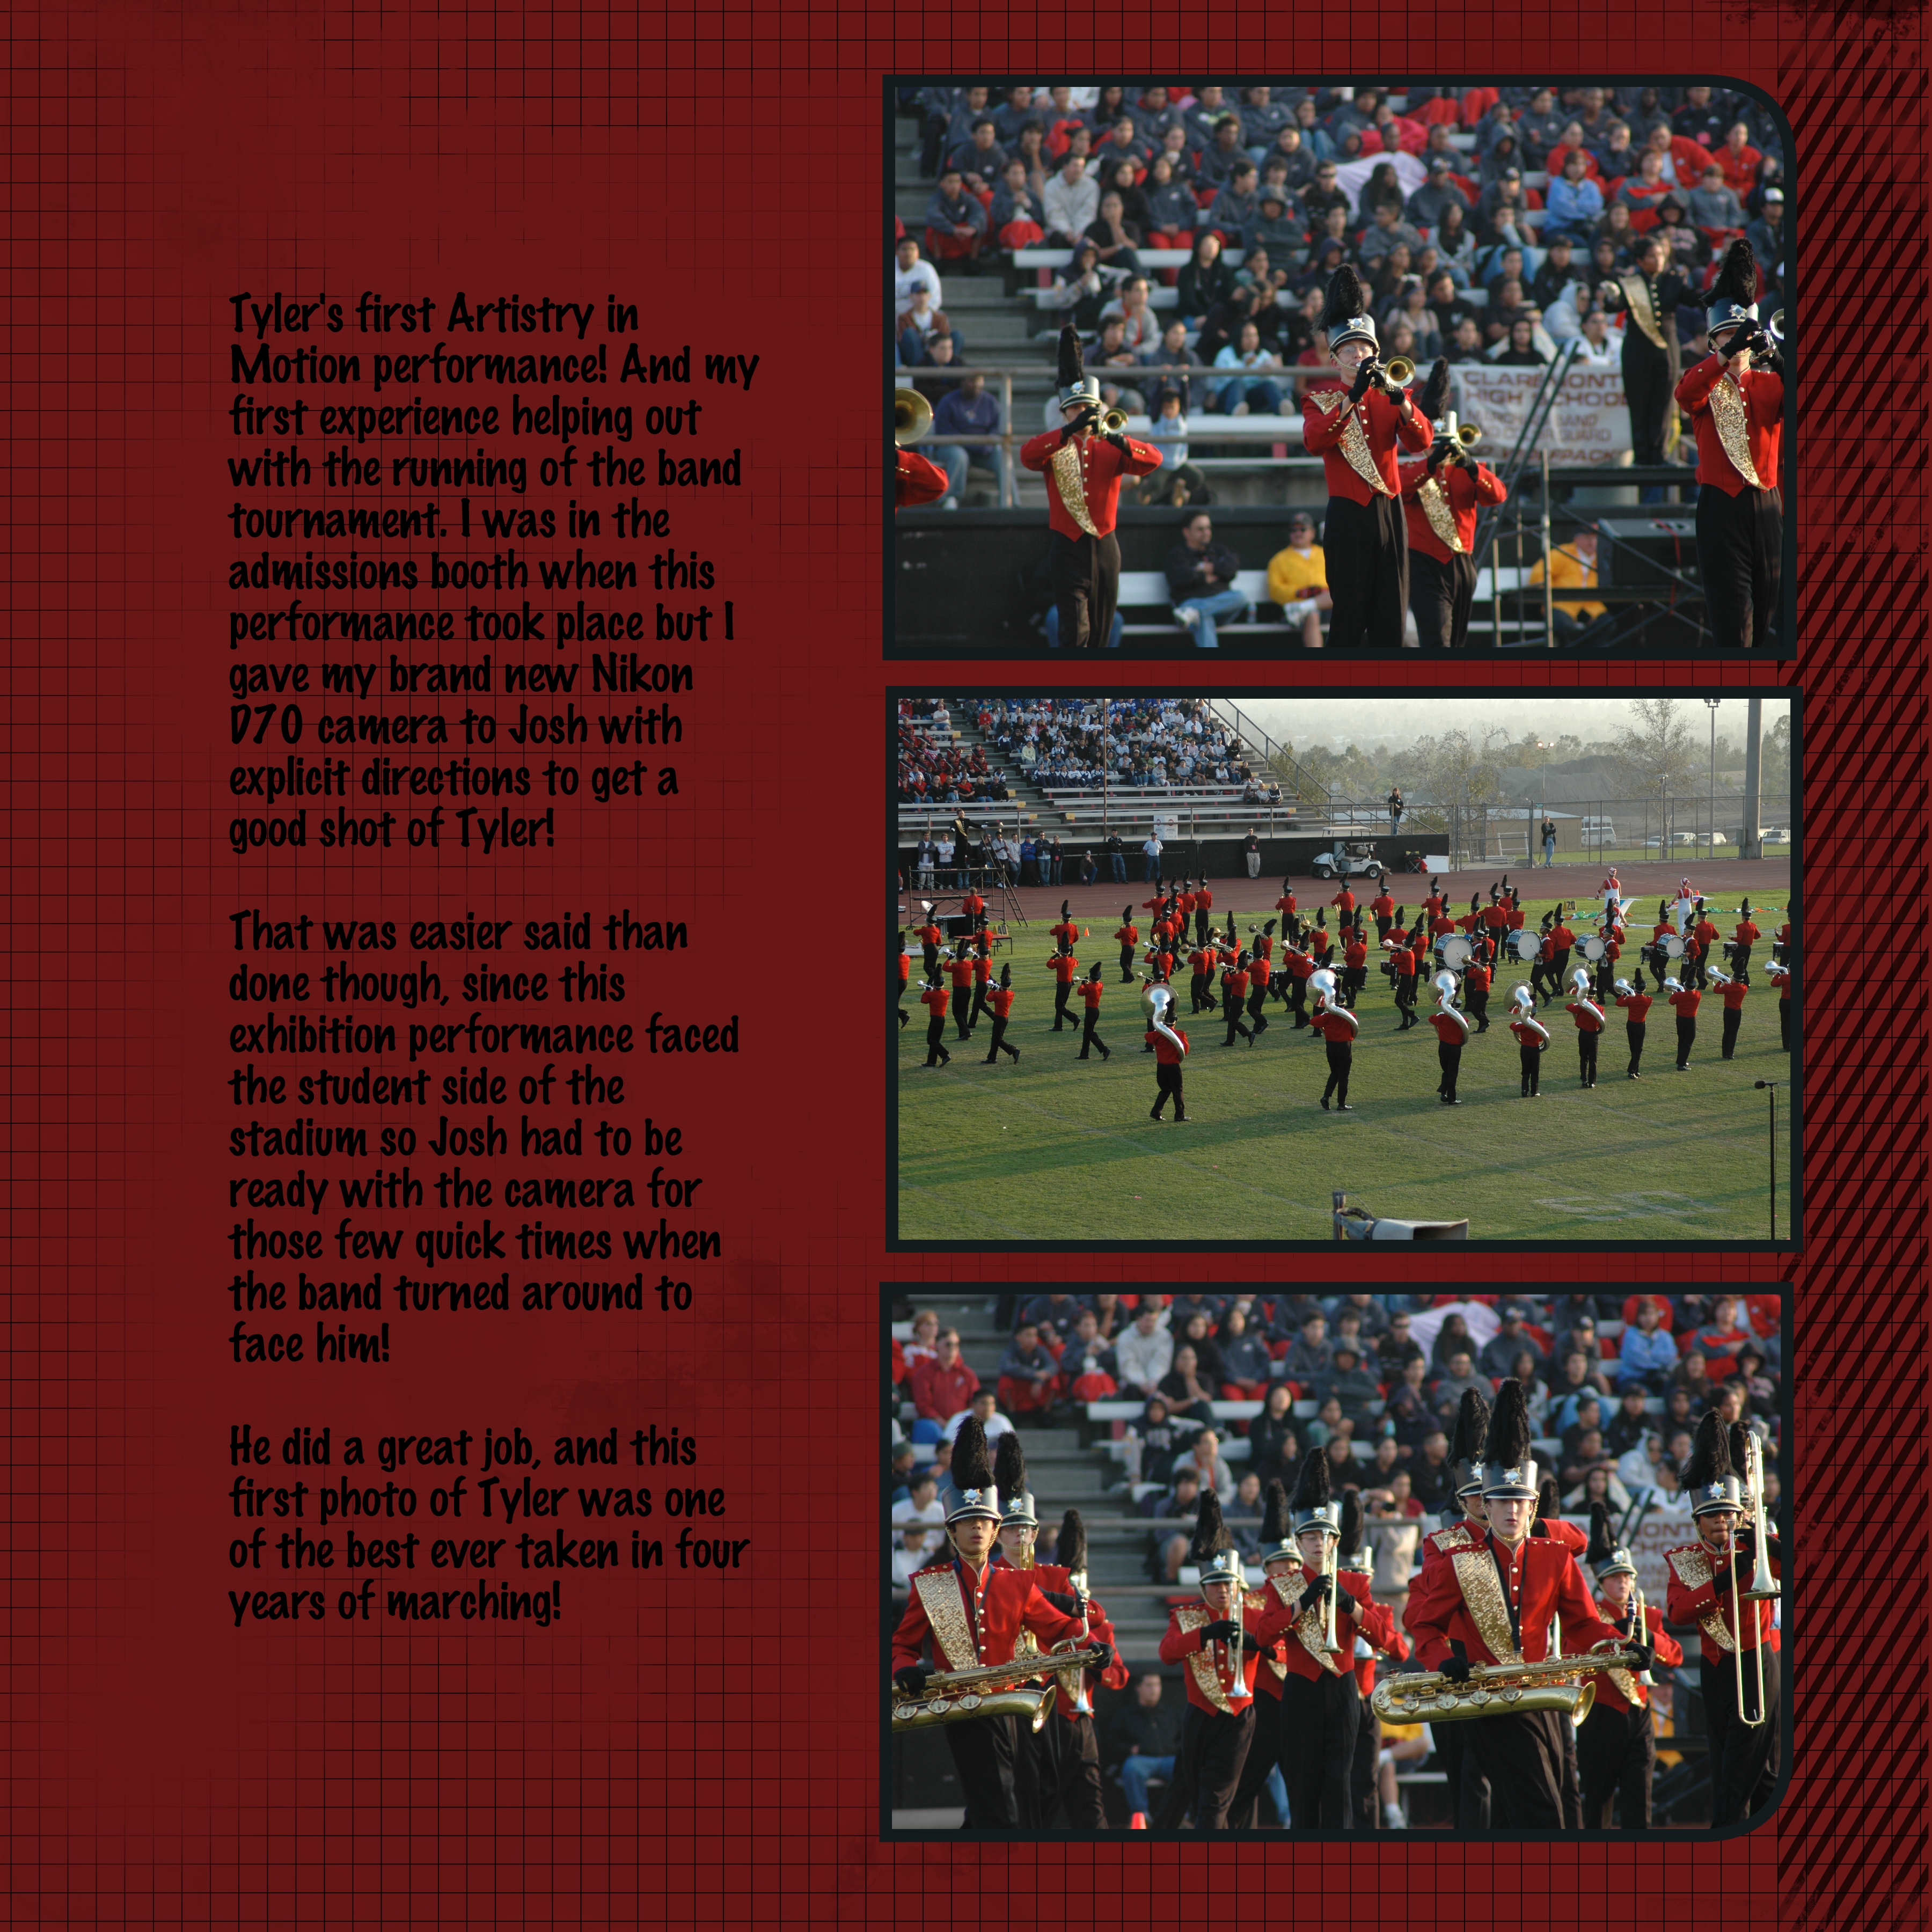
The group is on Challenge #60 or something ridiculous but I have started with Challenge #1 One Photo, Multiple Boxes. I watched the video here and started creating.

This new adventure is not without it's challenges but there are lots of videos out there to answer most of my questions. Here's what I learned this week:

  • How to add background paper
  • How to add a photo
  • How to add one photo to three photo boxes (that was the actual challenge)
  • How to add and re-color a photo mat
  • How to add a drop shadow
  • How to round photo corners (so cool)
  • How to add/resize/re-color text
  • How to add a stamp (See the cute shoes? They look like Dinkles to me!)
  • How to add and rotate an embellishment (See the staples in the upper right hand corner?)
  • How to add a page overlay and flip it so the facing page had a mirror image
  • How to move layers backwards and forwards (awesome tool!)
  • How to pull the background paper color from my son's uniform jacket :)

Whew! That's a lot of learning for two 12 x 12 pages! But I am now one step closer to being caught up, lol

The subject is my youngest son who is now 23 (hanging head in shame at how far behind I am) during his freshman year in band. Here he is marching in the Band Tournament that our school hosted every year, called Artistry in Motion. My older son took my brand new Nikon D70 and shot this fantastic photo of his brother for me (I was working the ticket booth). Great memory, great photo, and now it's scrapbooked!

Now what to do with it? Well, MDS has a print company and all I do is send my pages electronically to them and they will print them for me. I can print each page individually or I can have a whole photo book printed. Once I have more pages done, I will send them to be printed both ways and see which I prefer. I think the photo books might be more manageable for the two boys who will inherit them :)

Thanks for stopping by and please let me know what you think about scrapbooking. Do you scrapbook? Digitally or with paper and glue?

Until next time, happy creating!
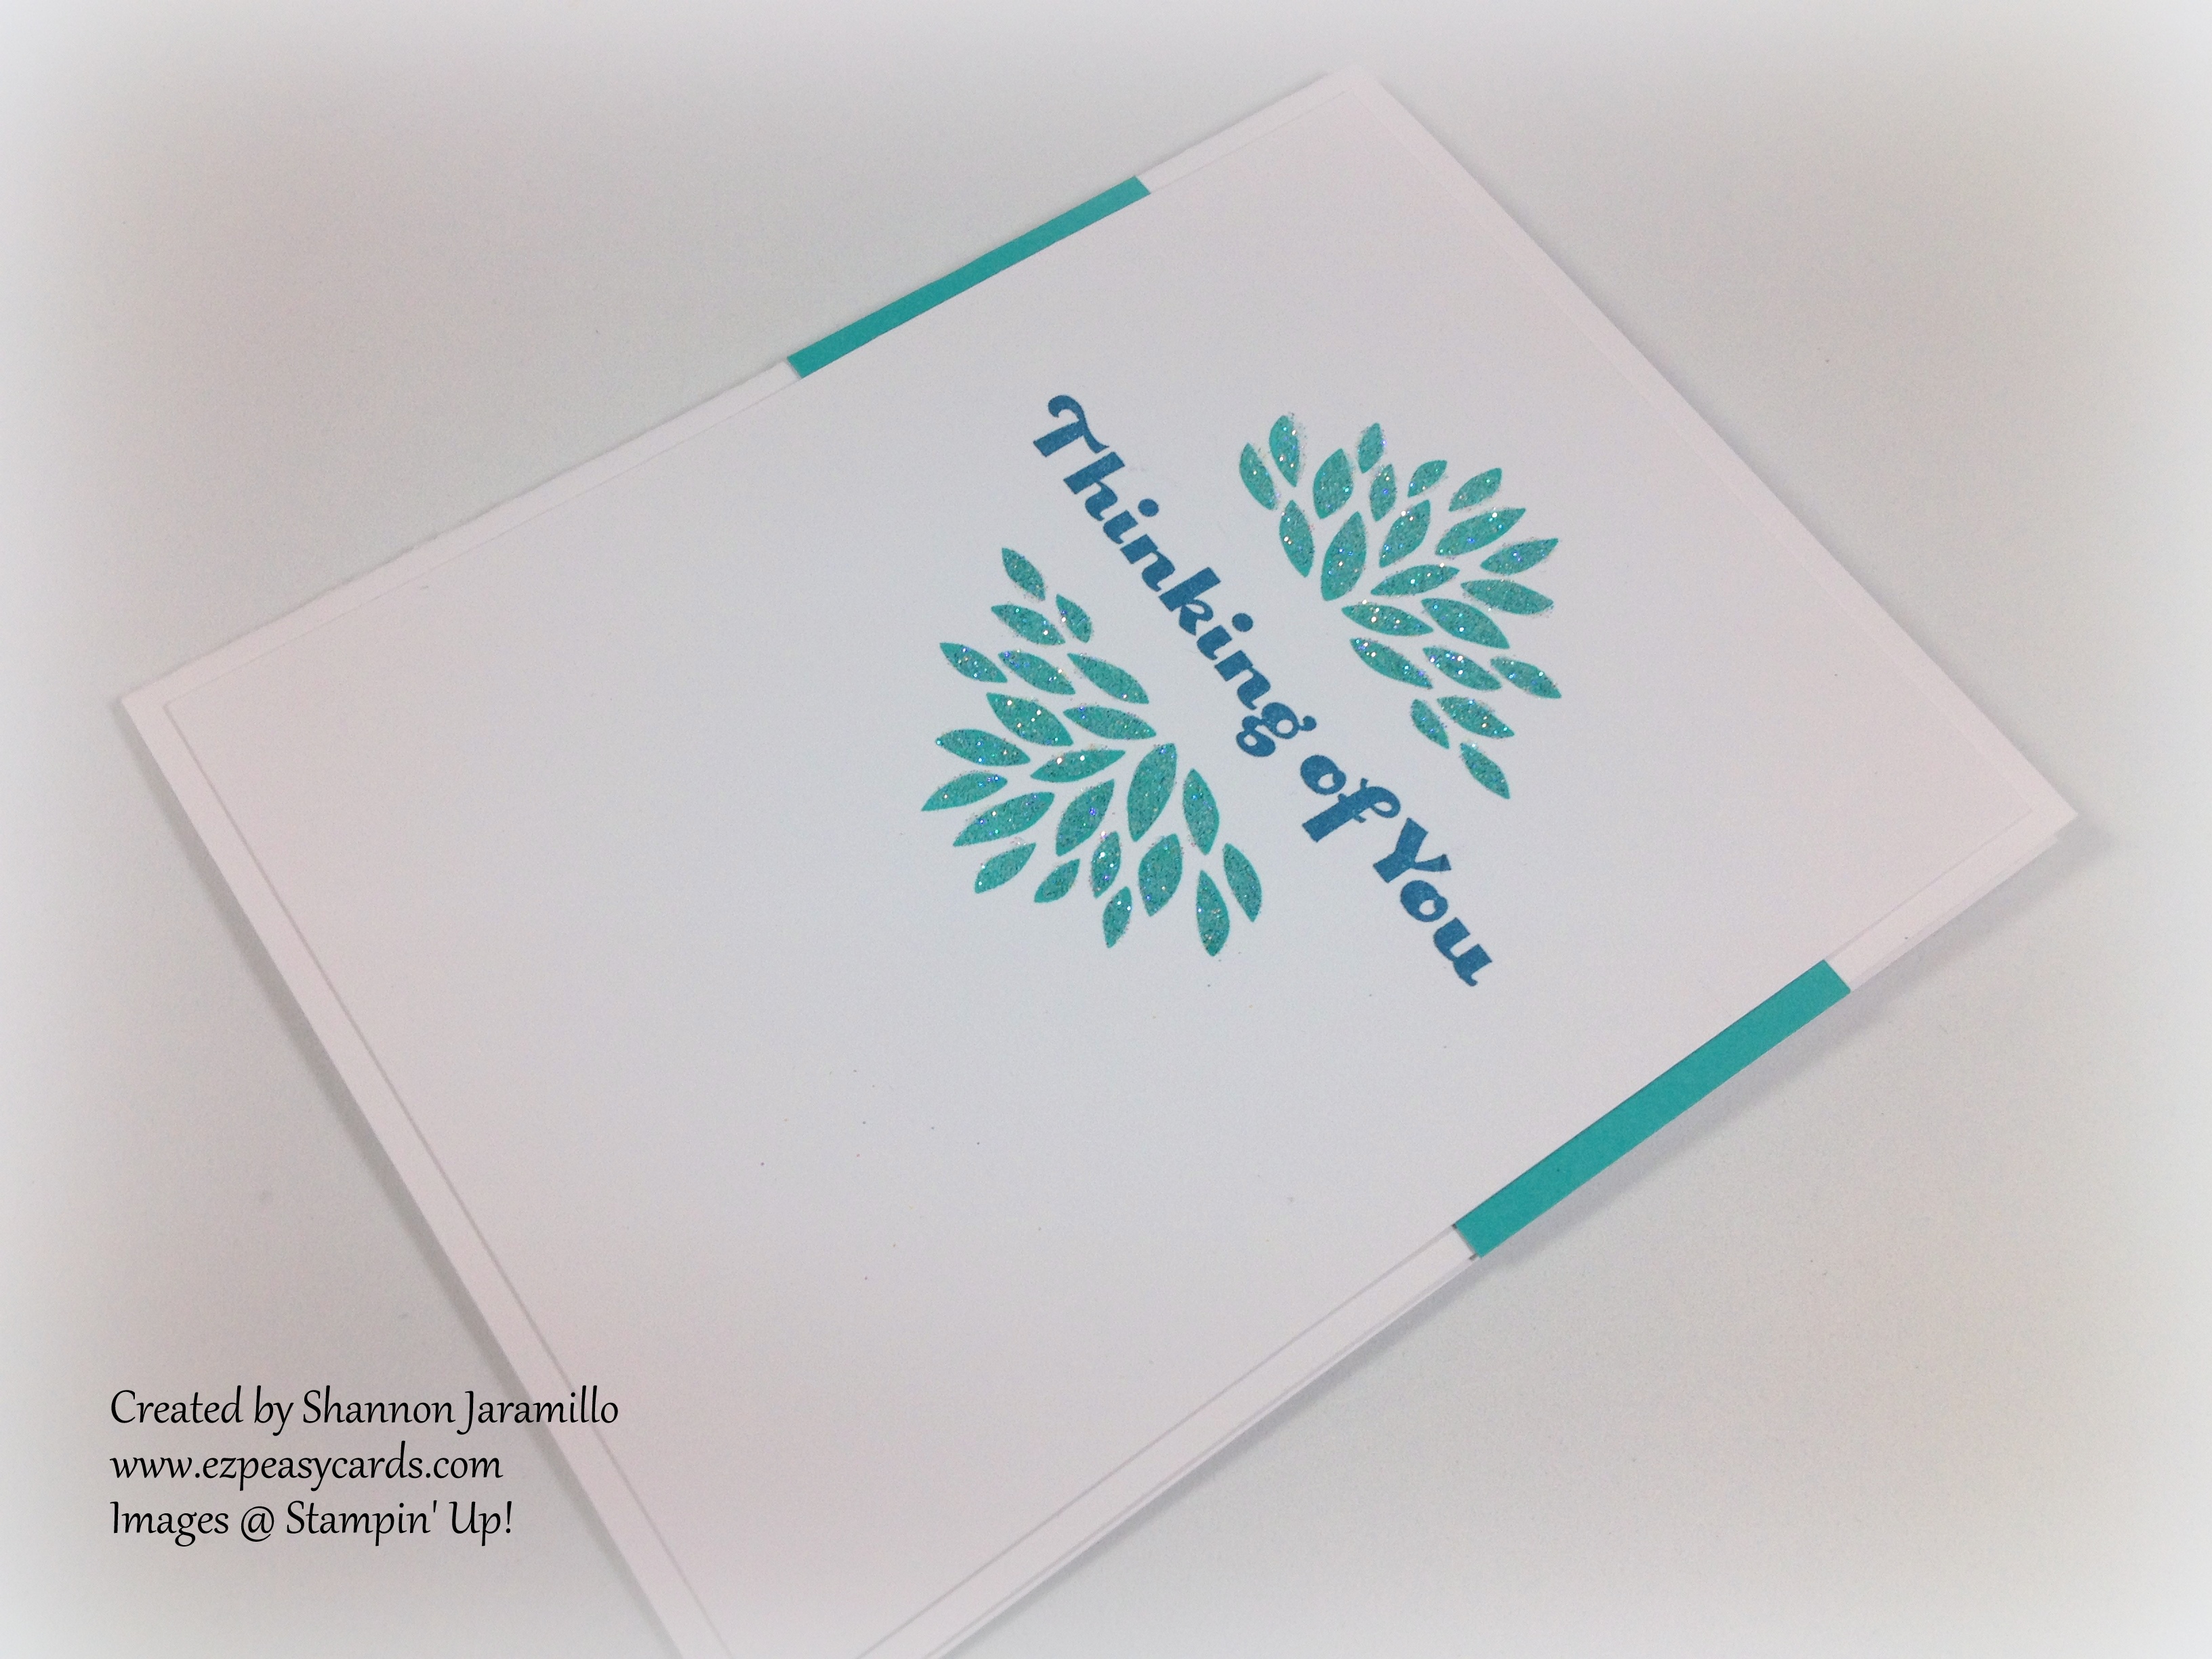
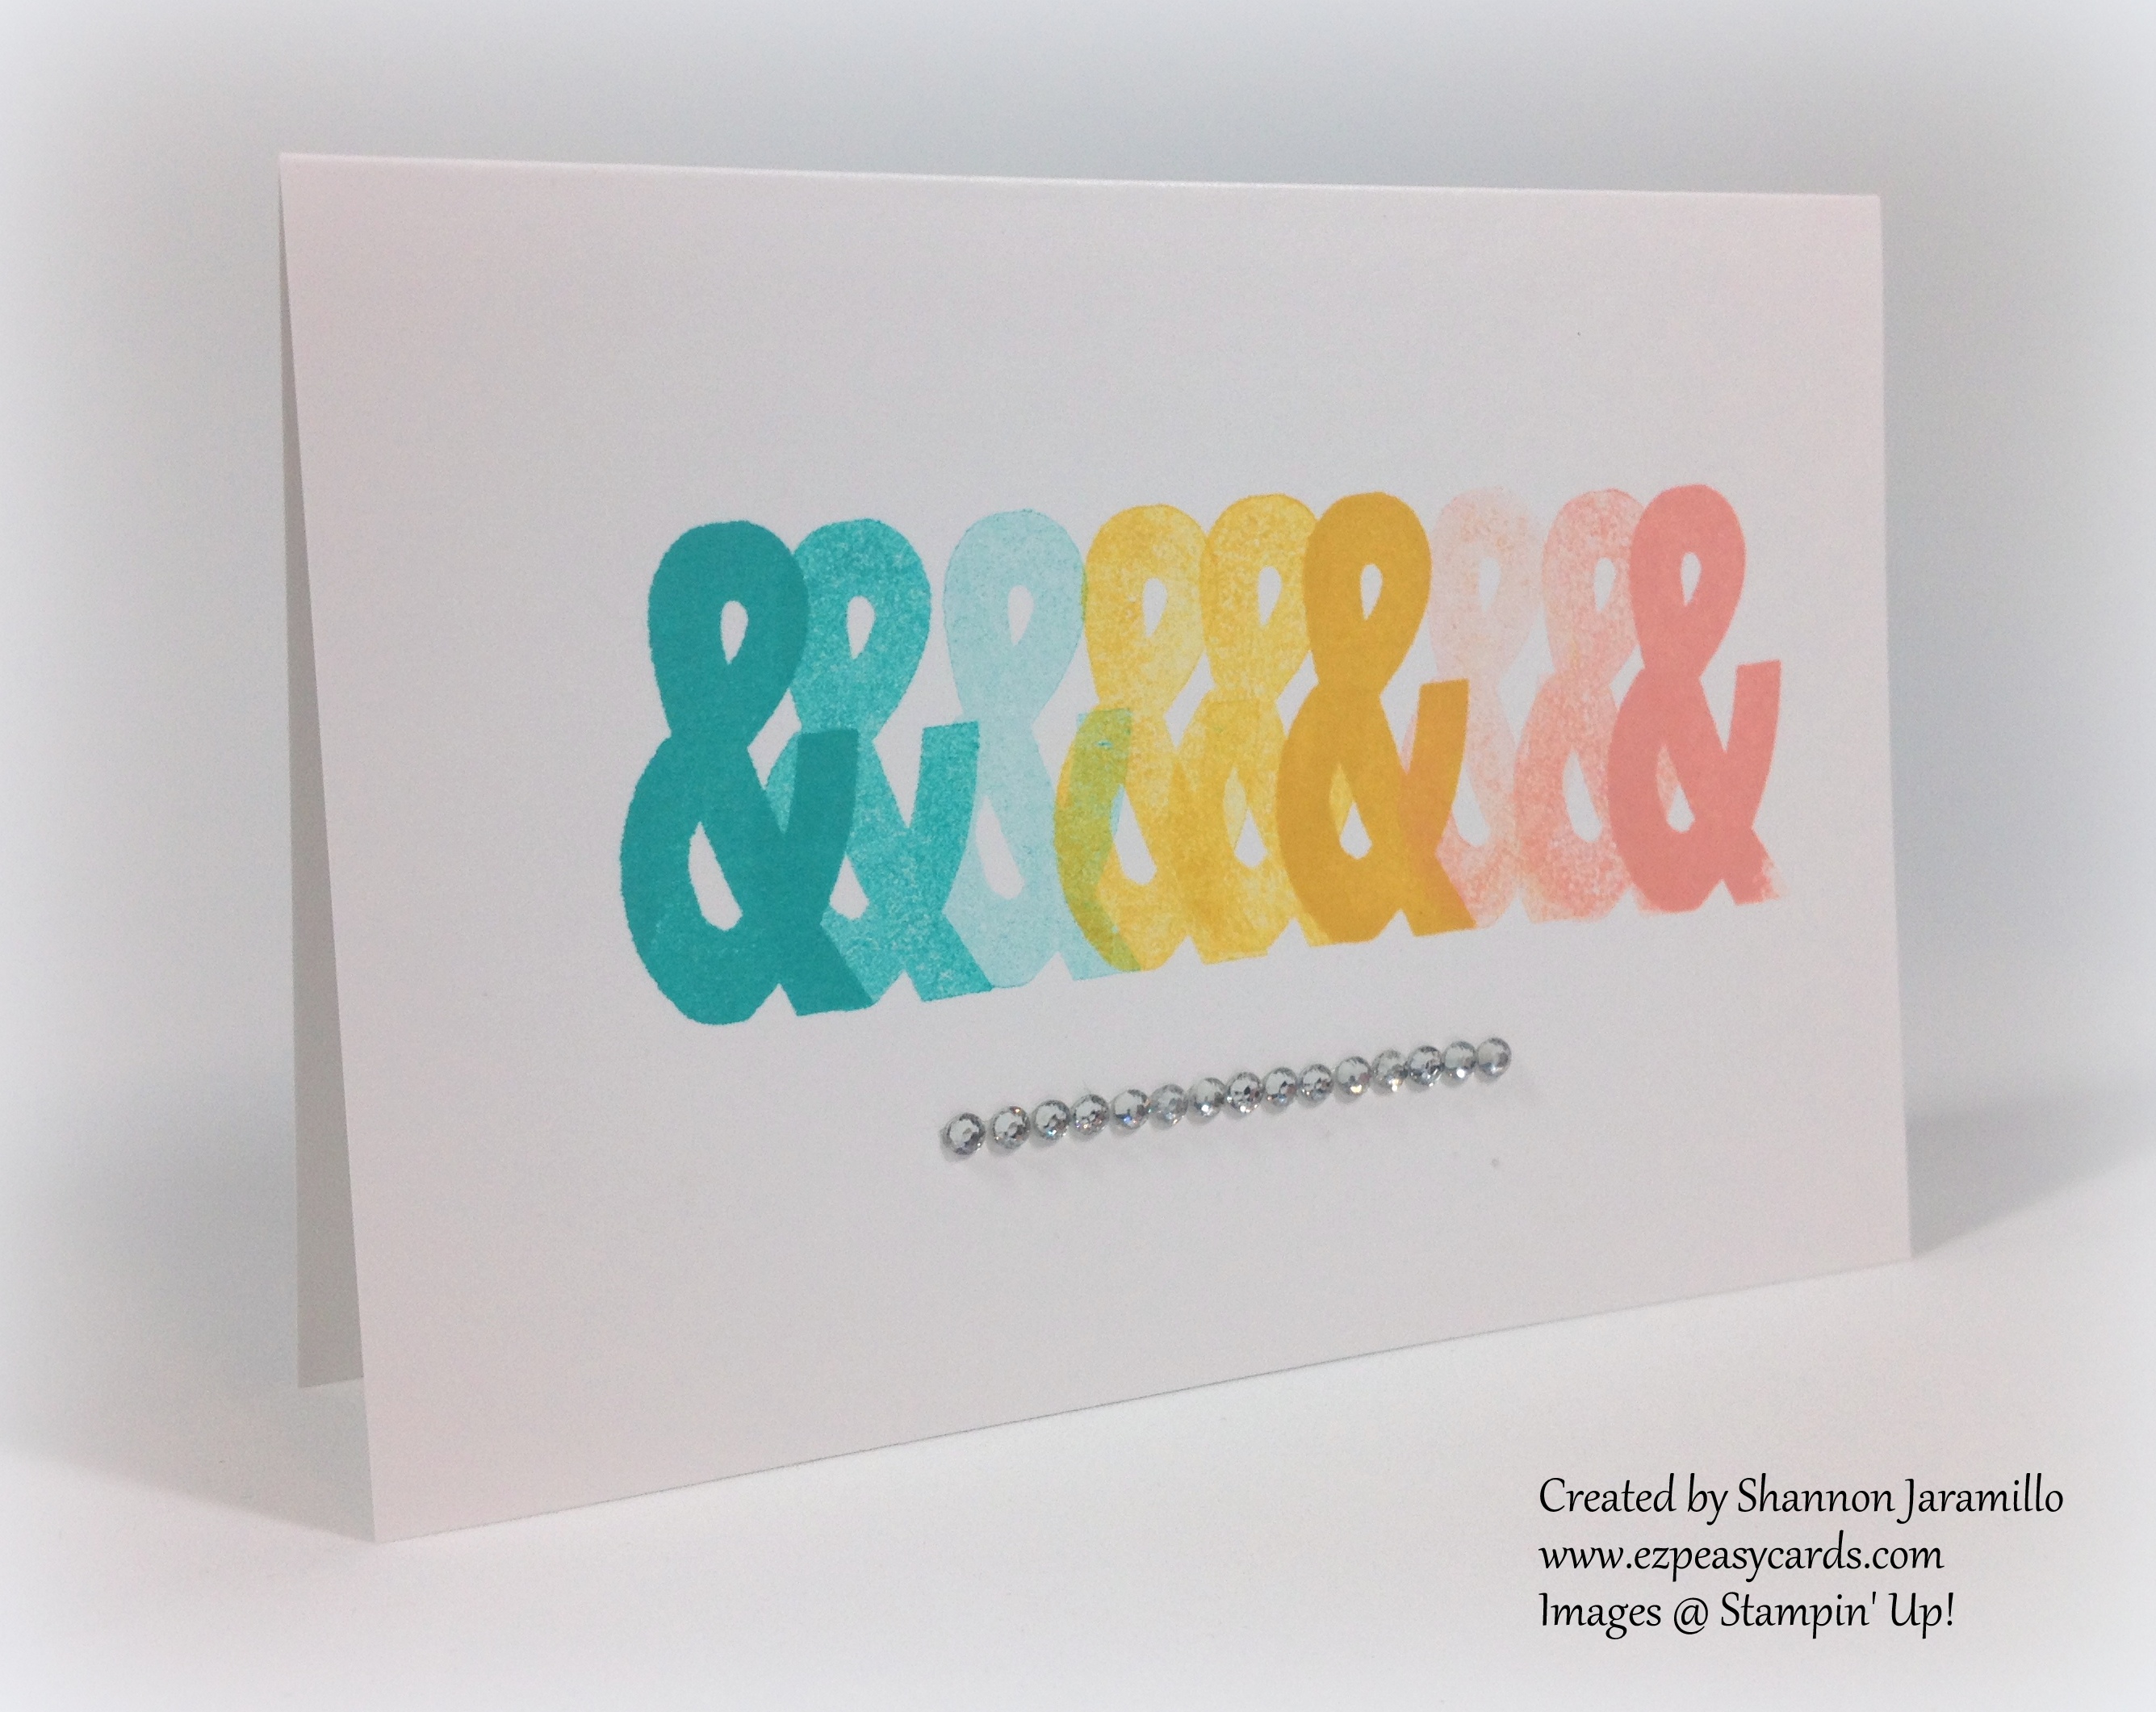
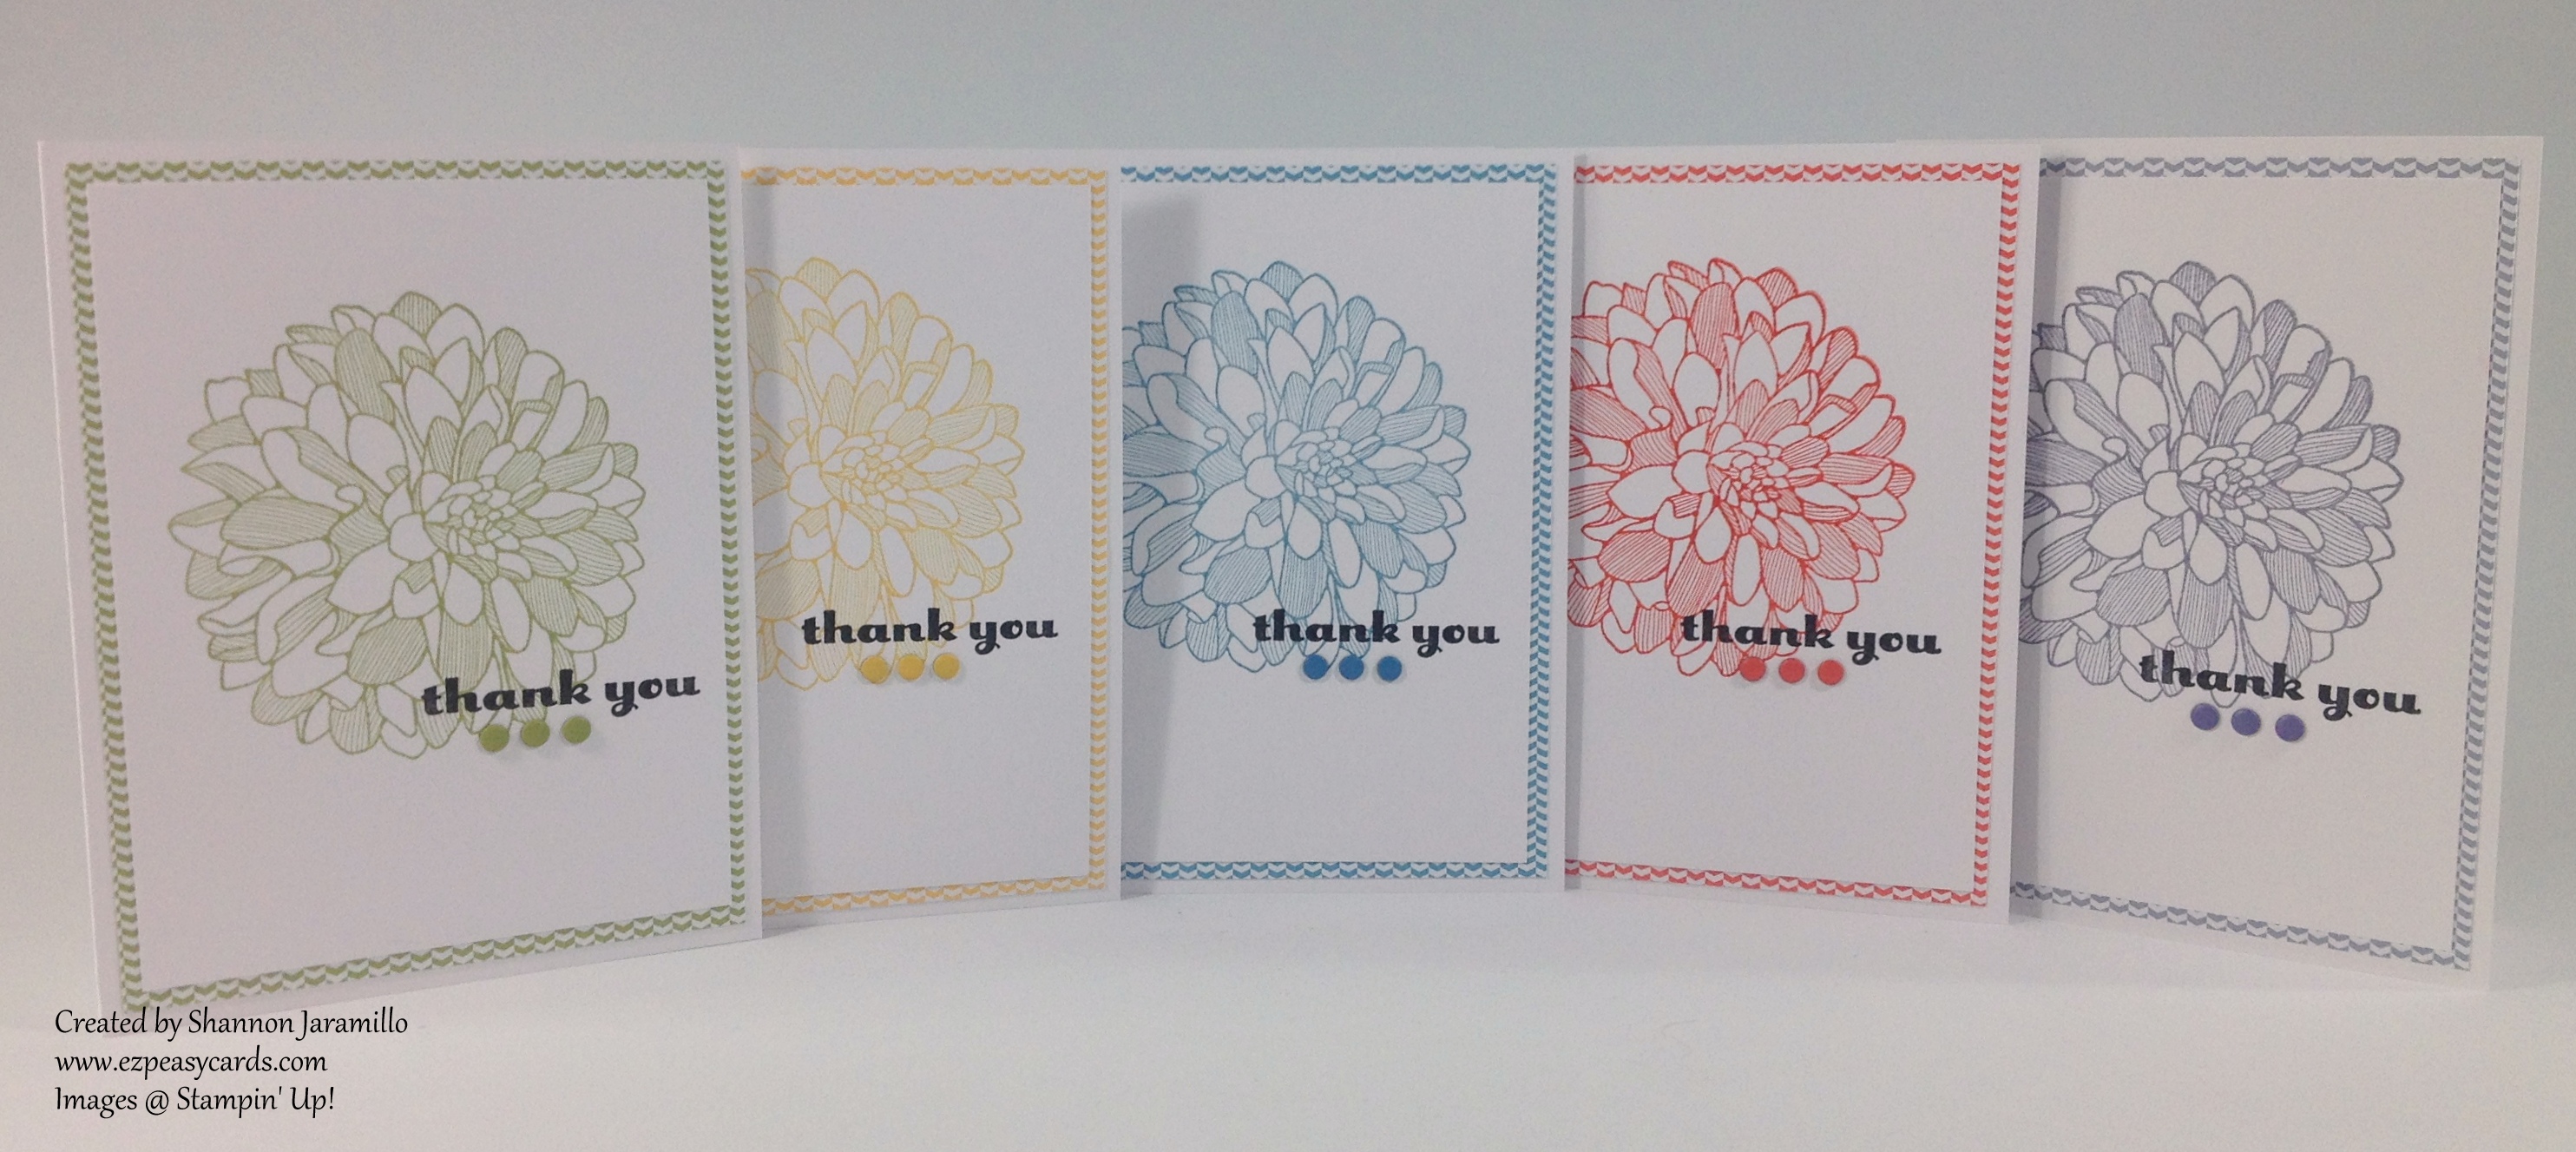
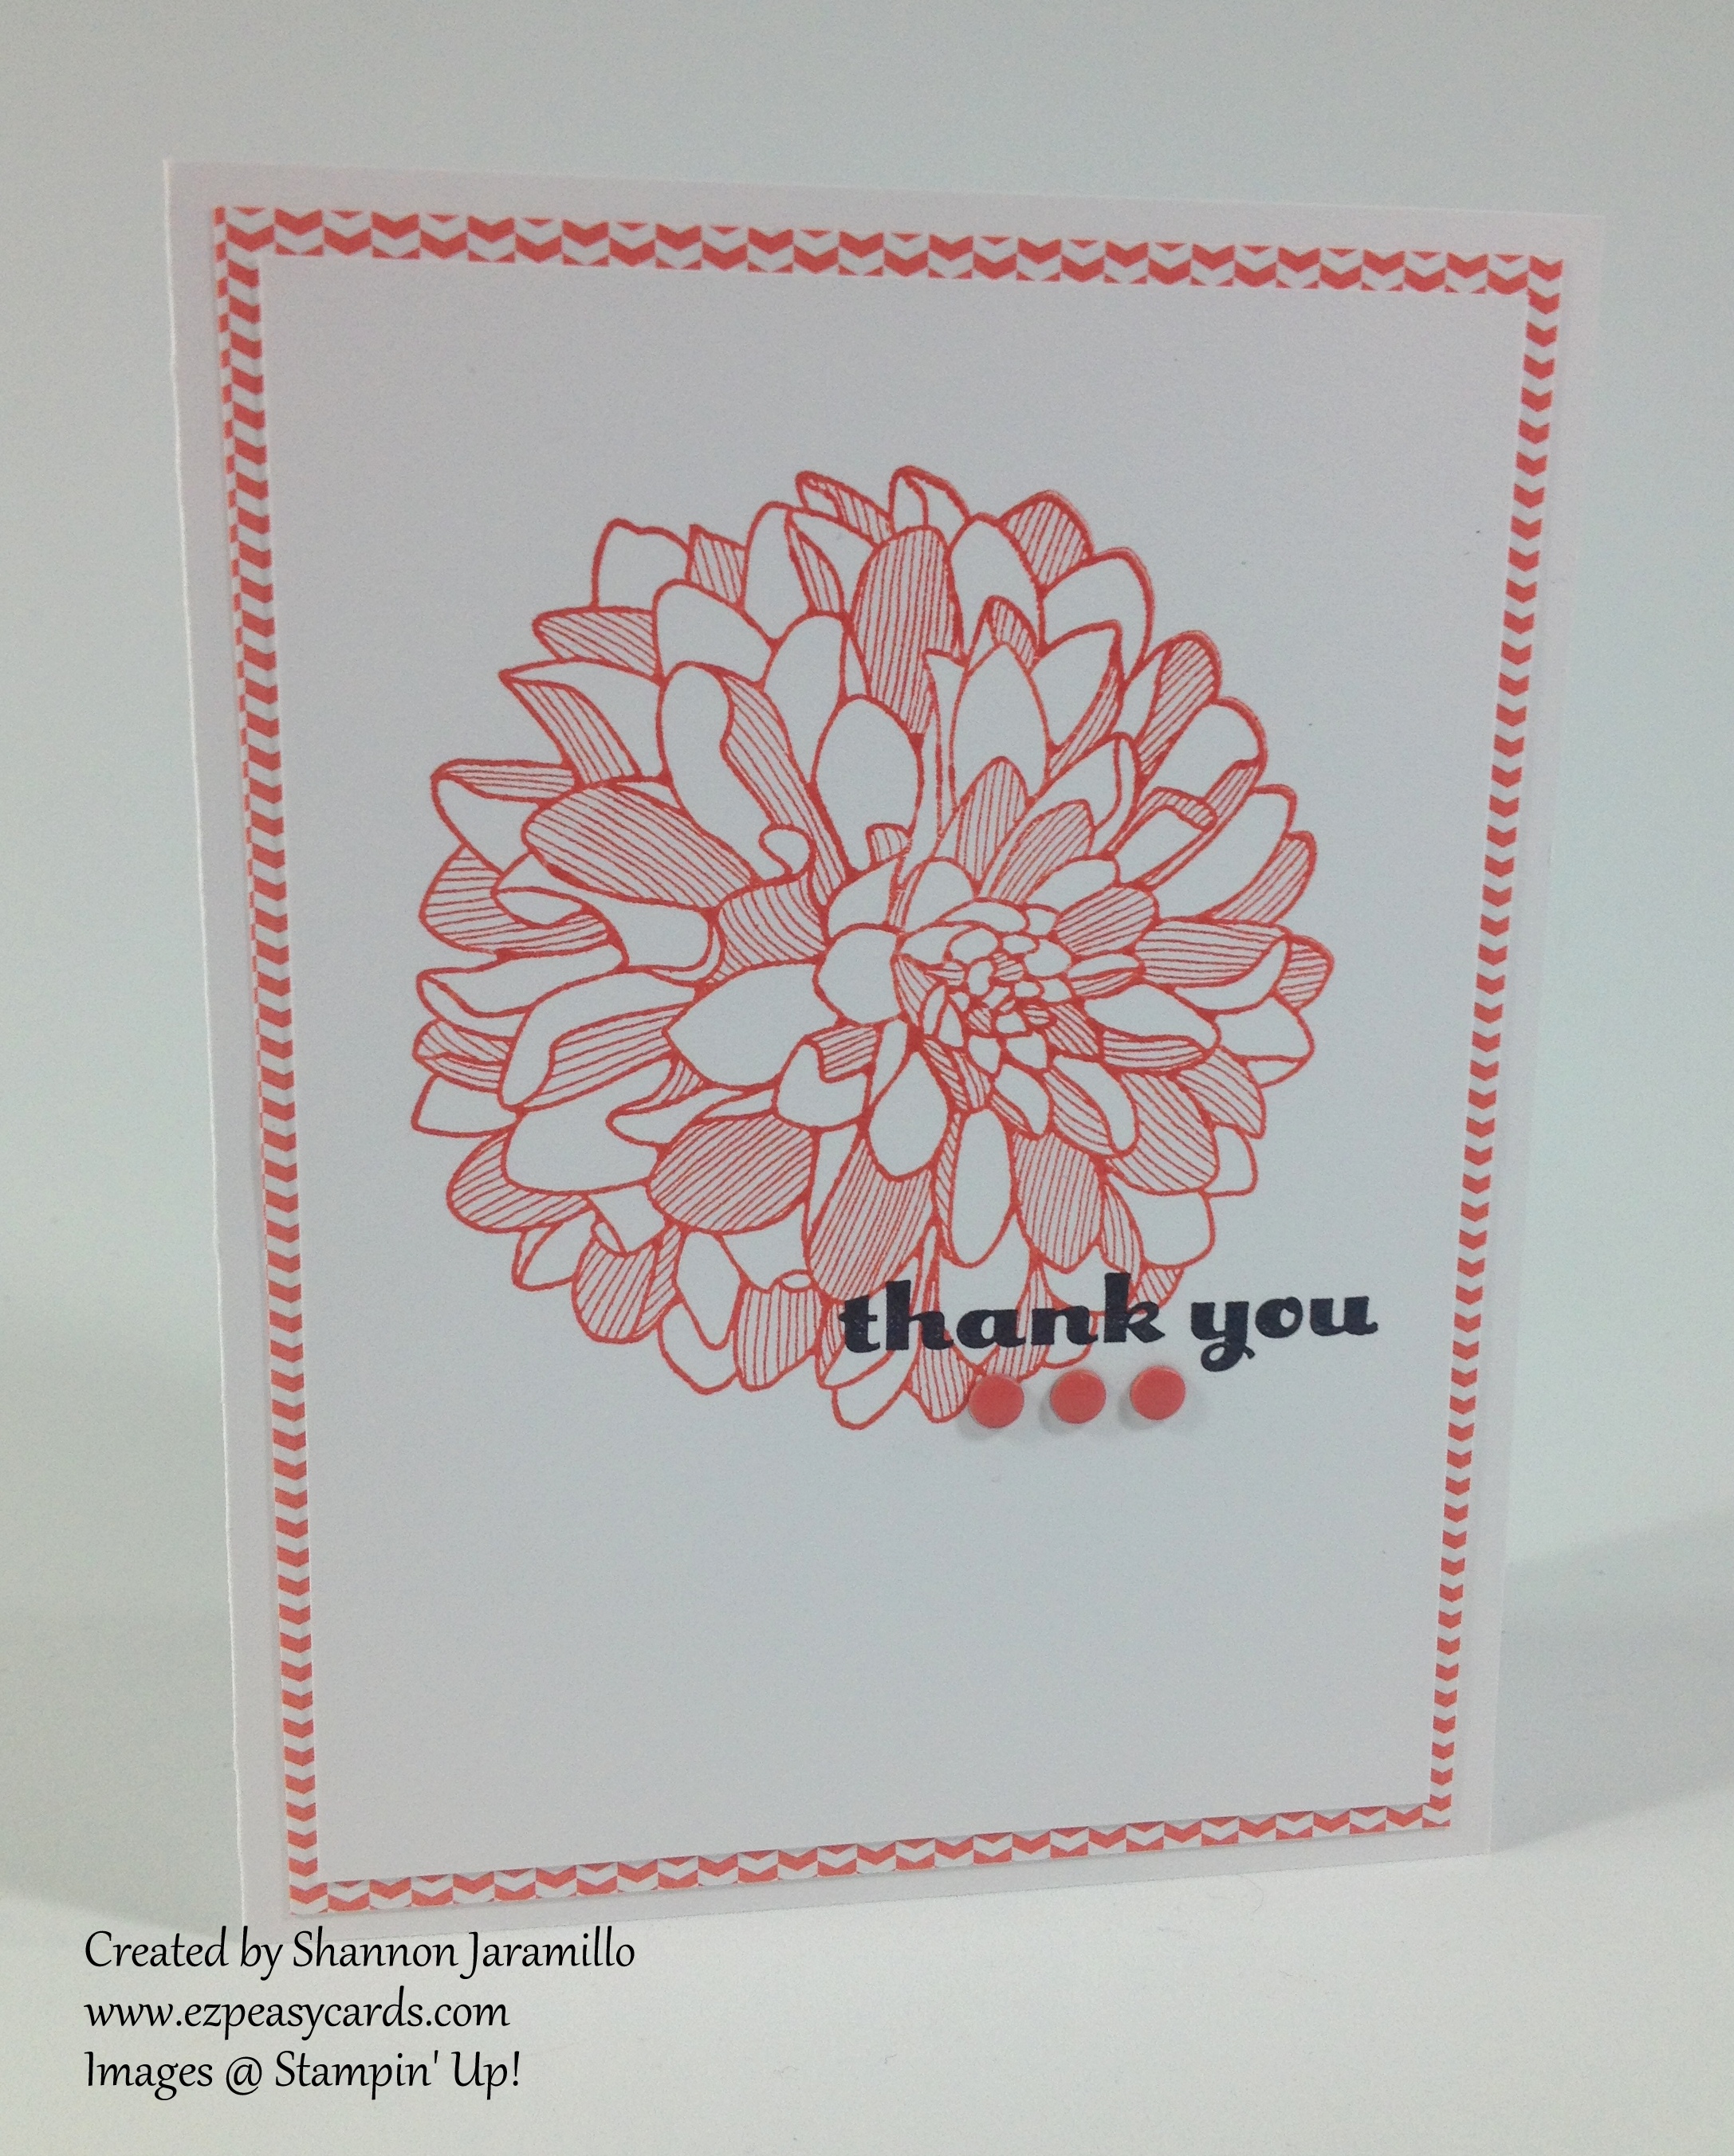
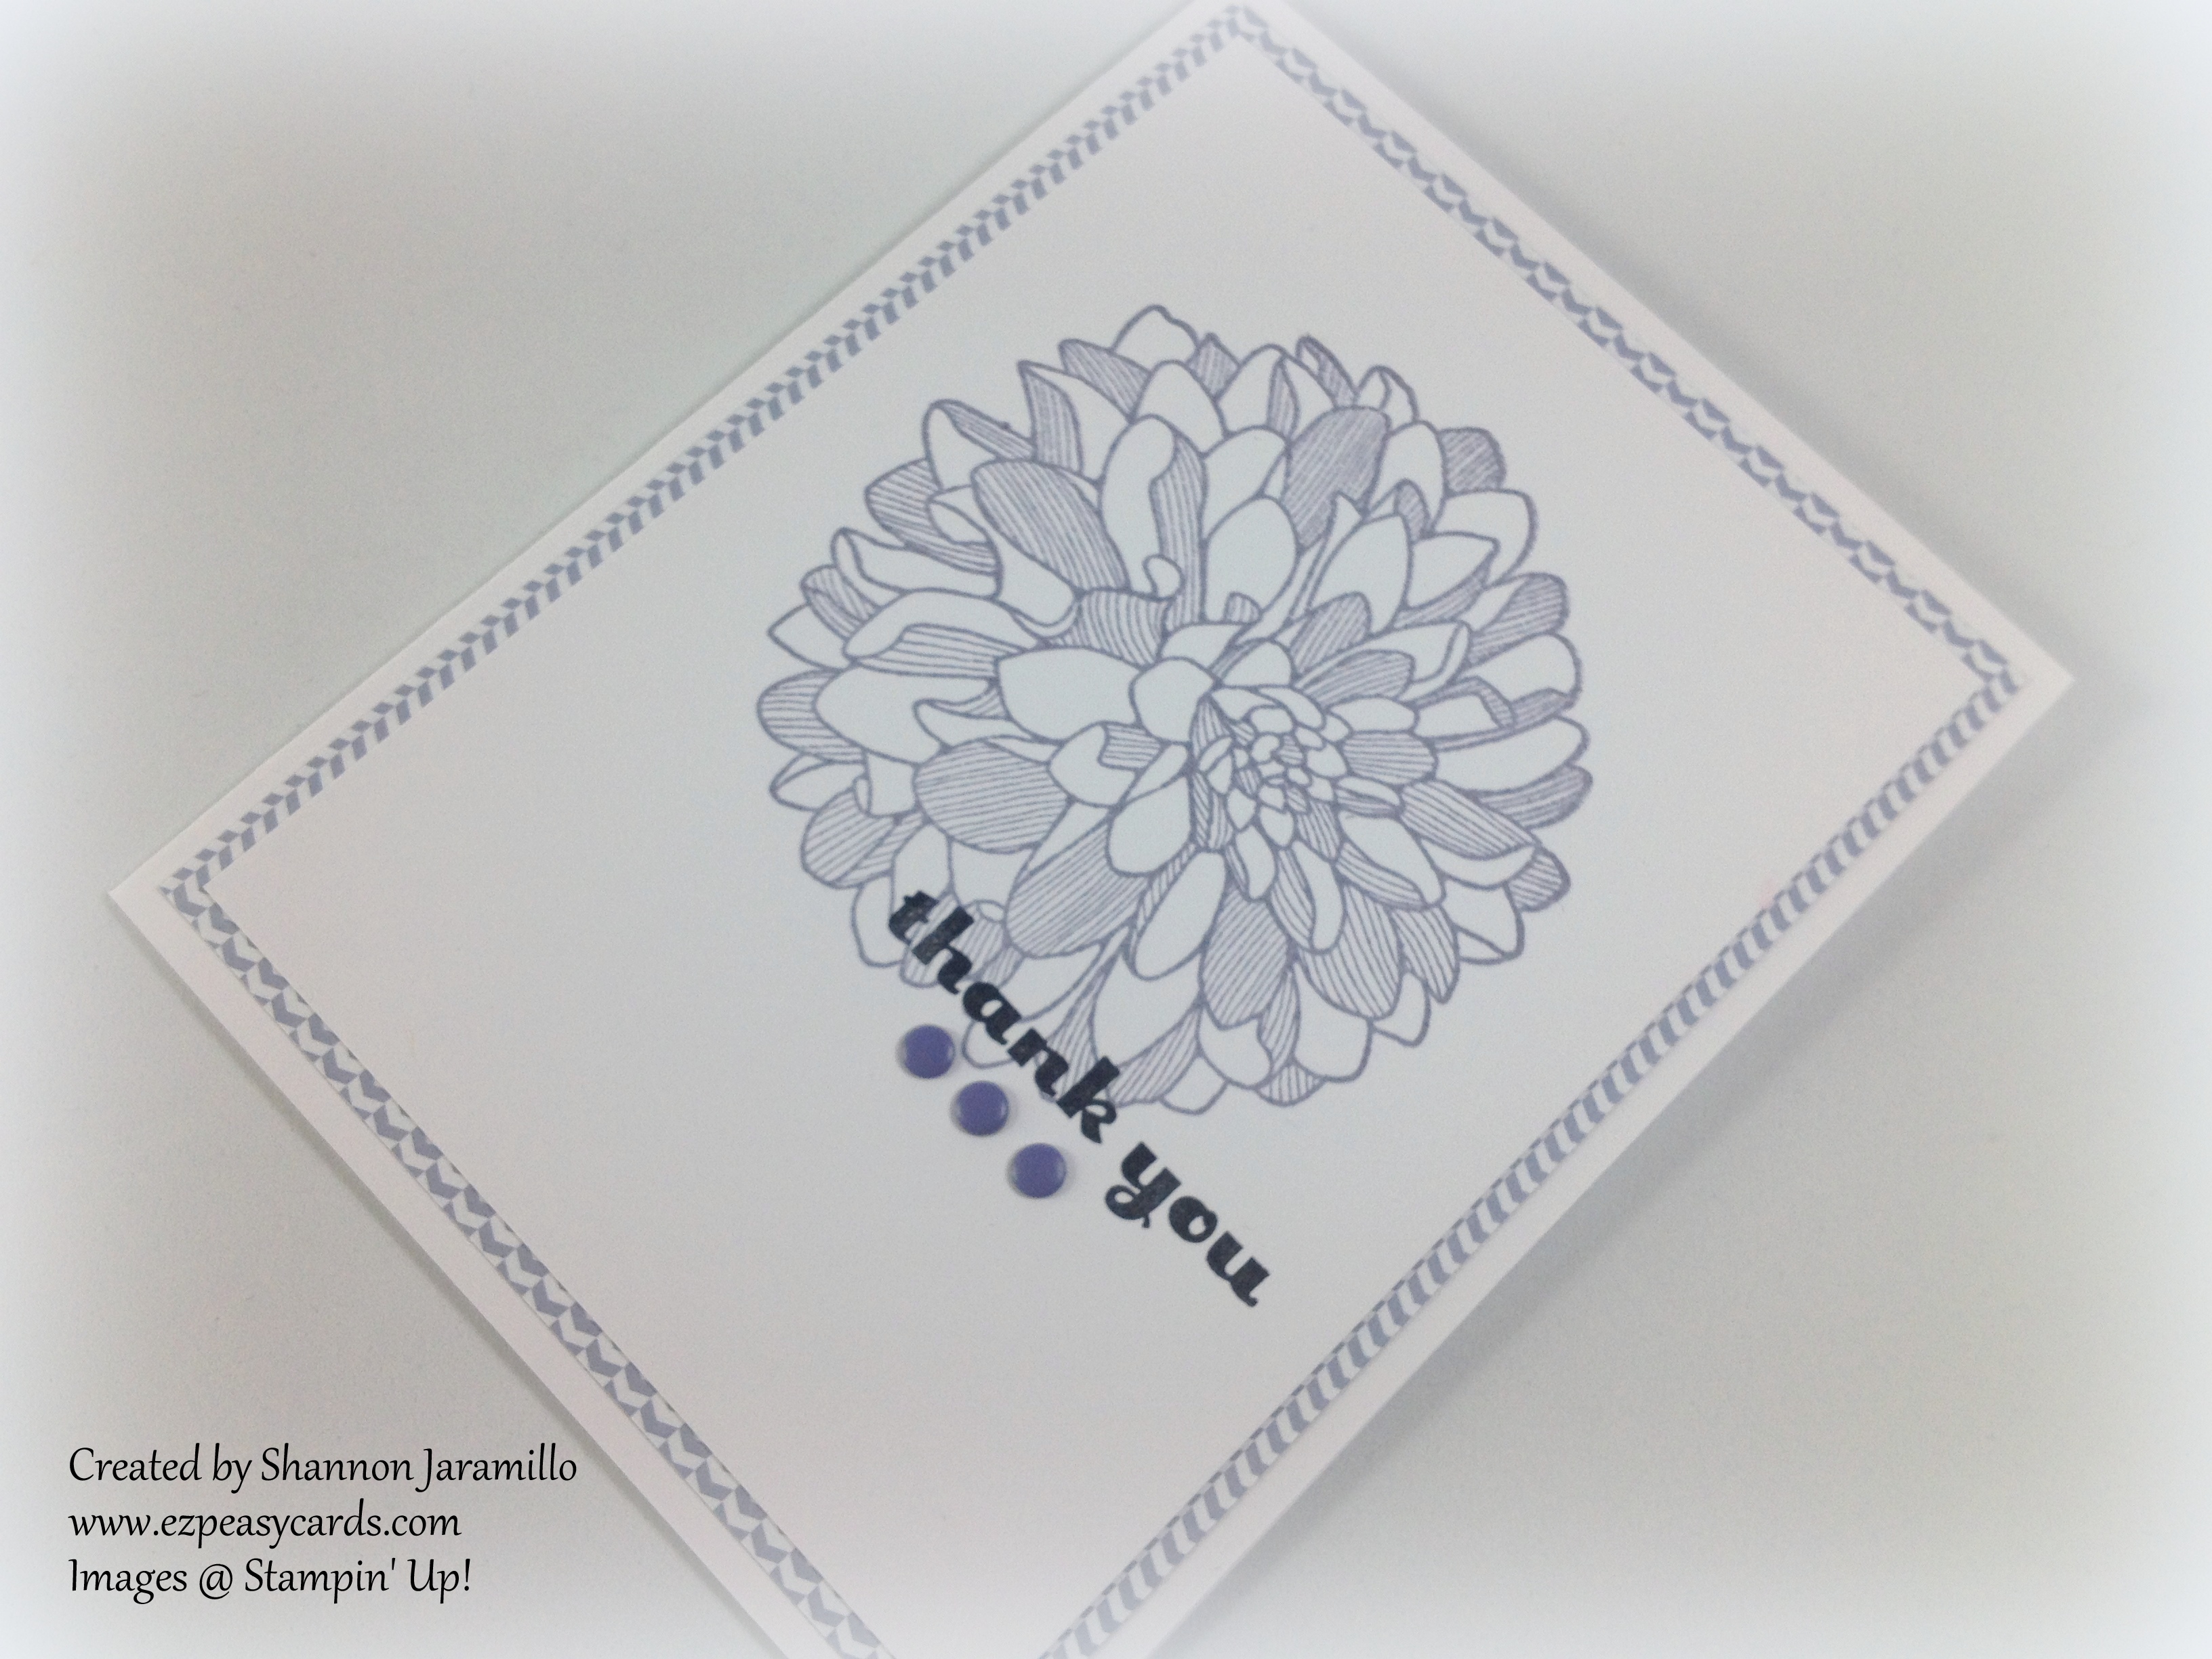
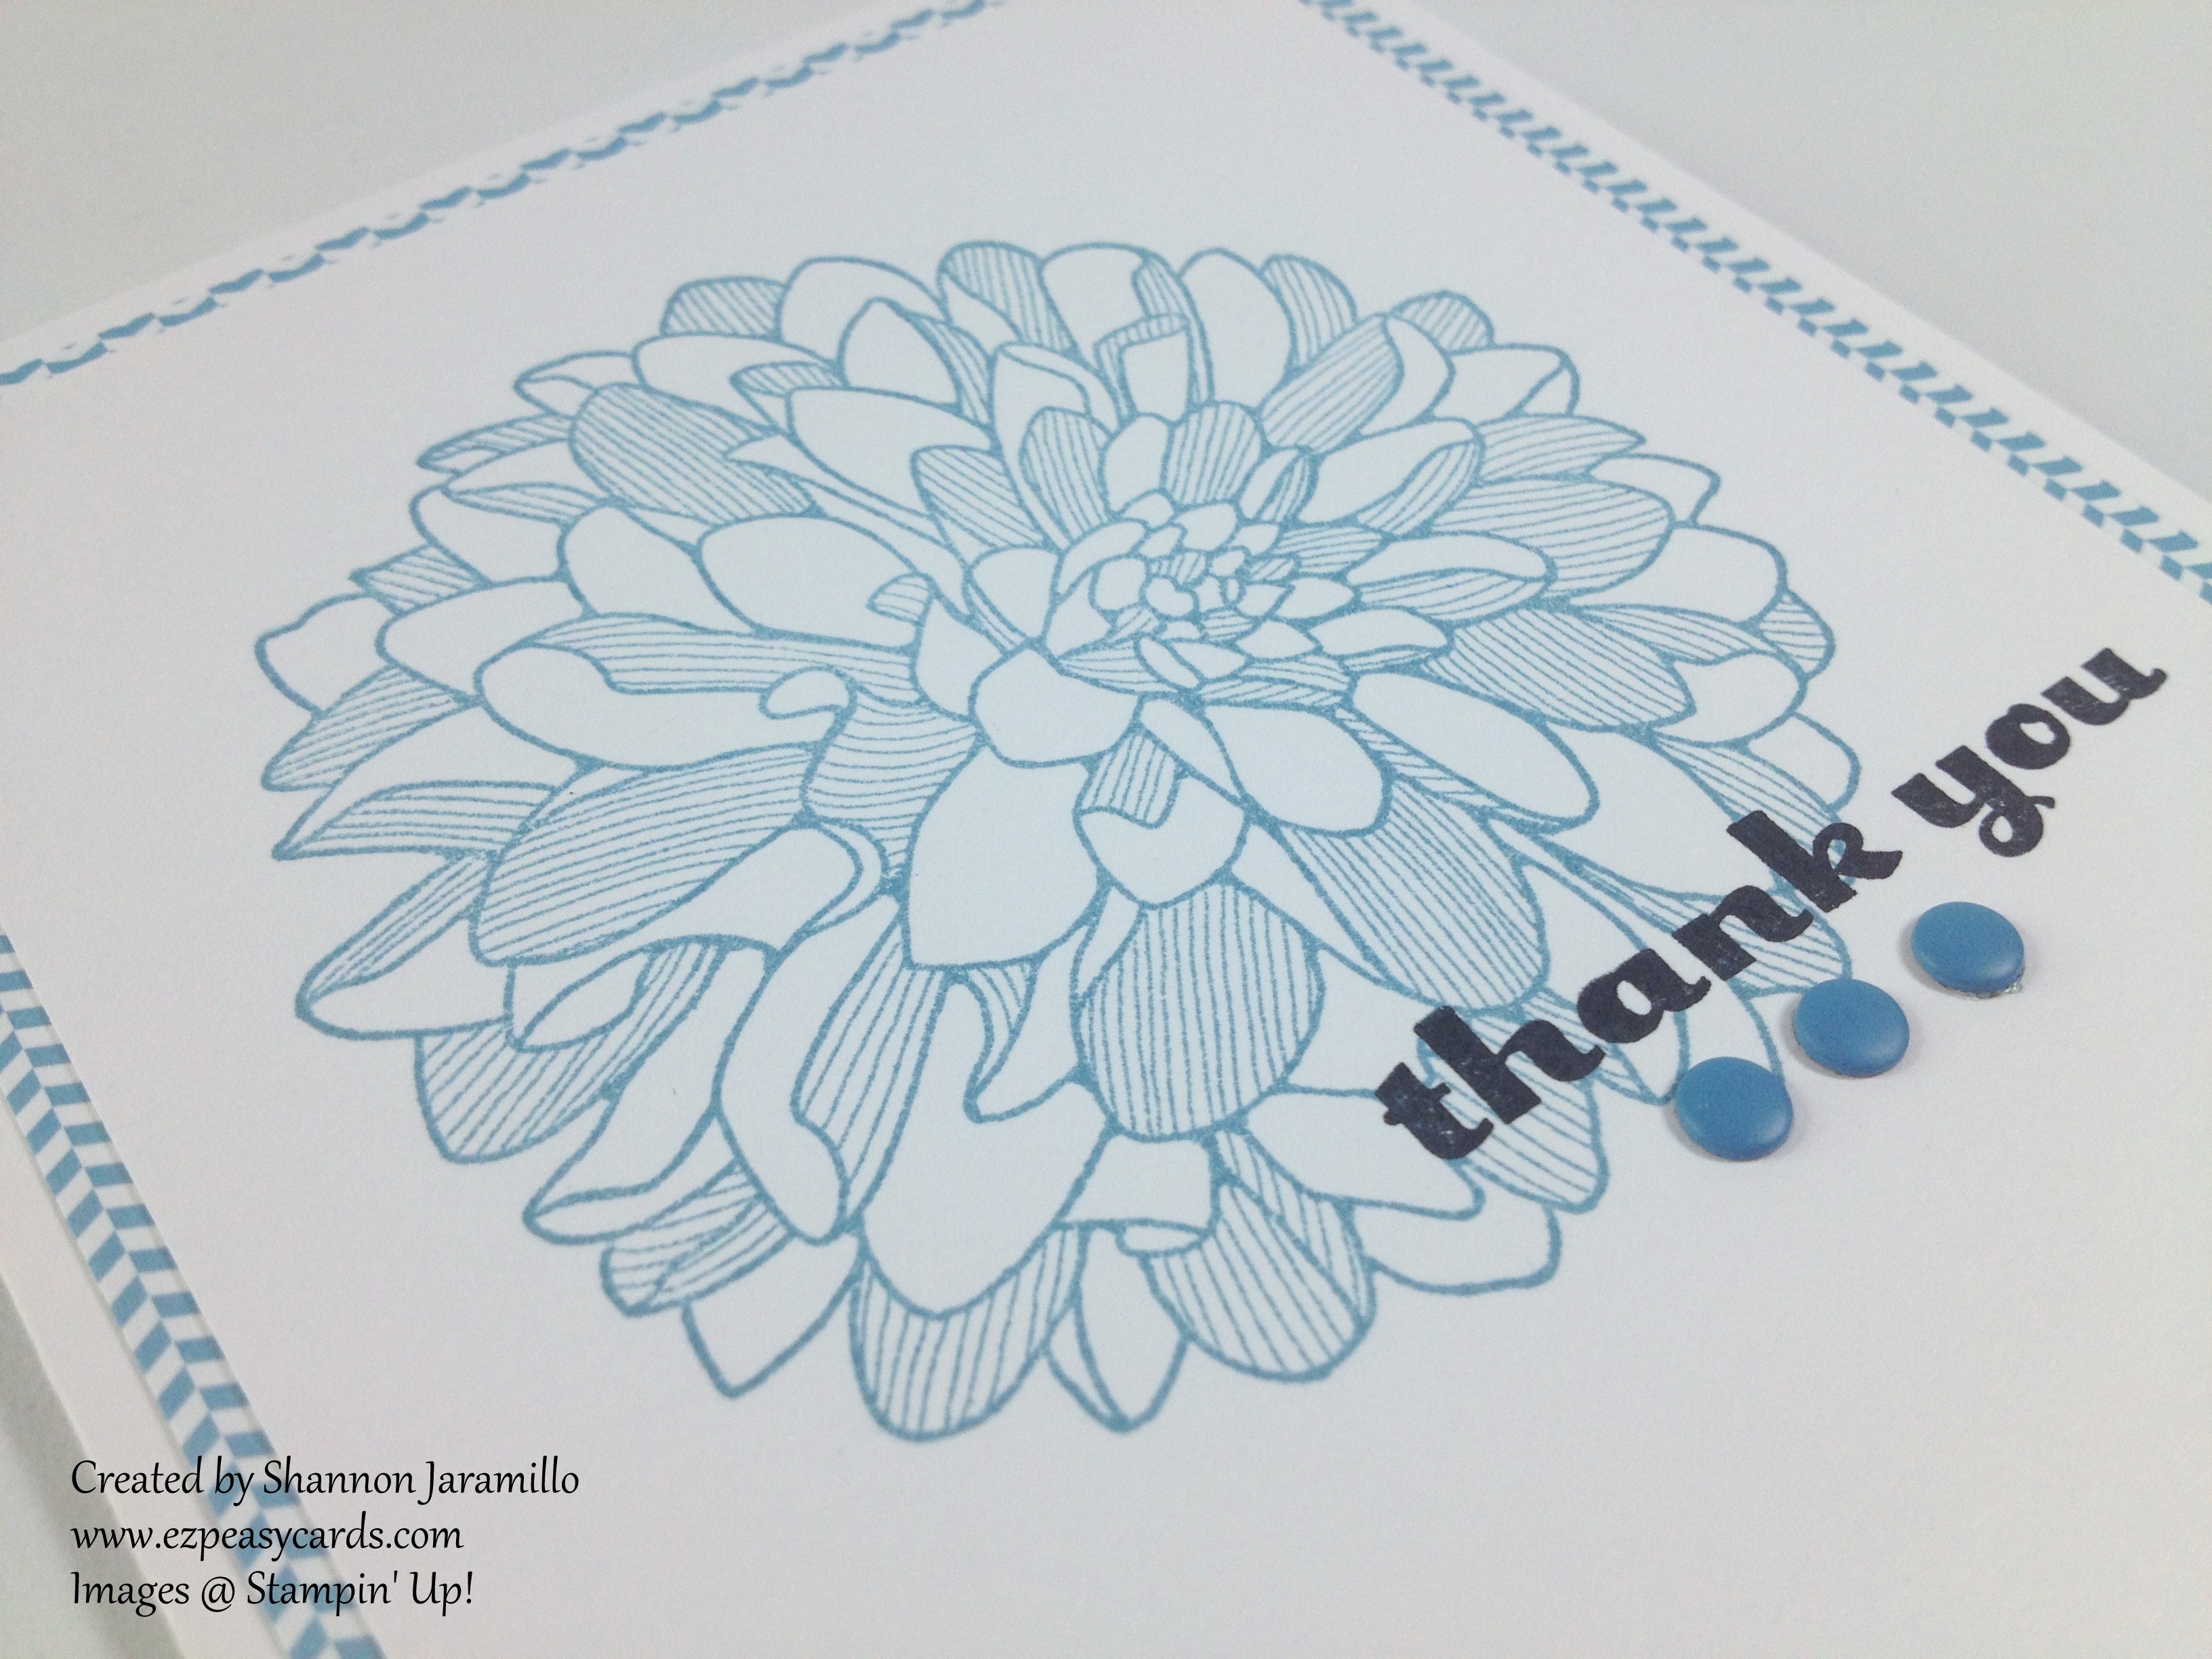
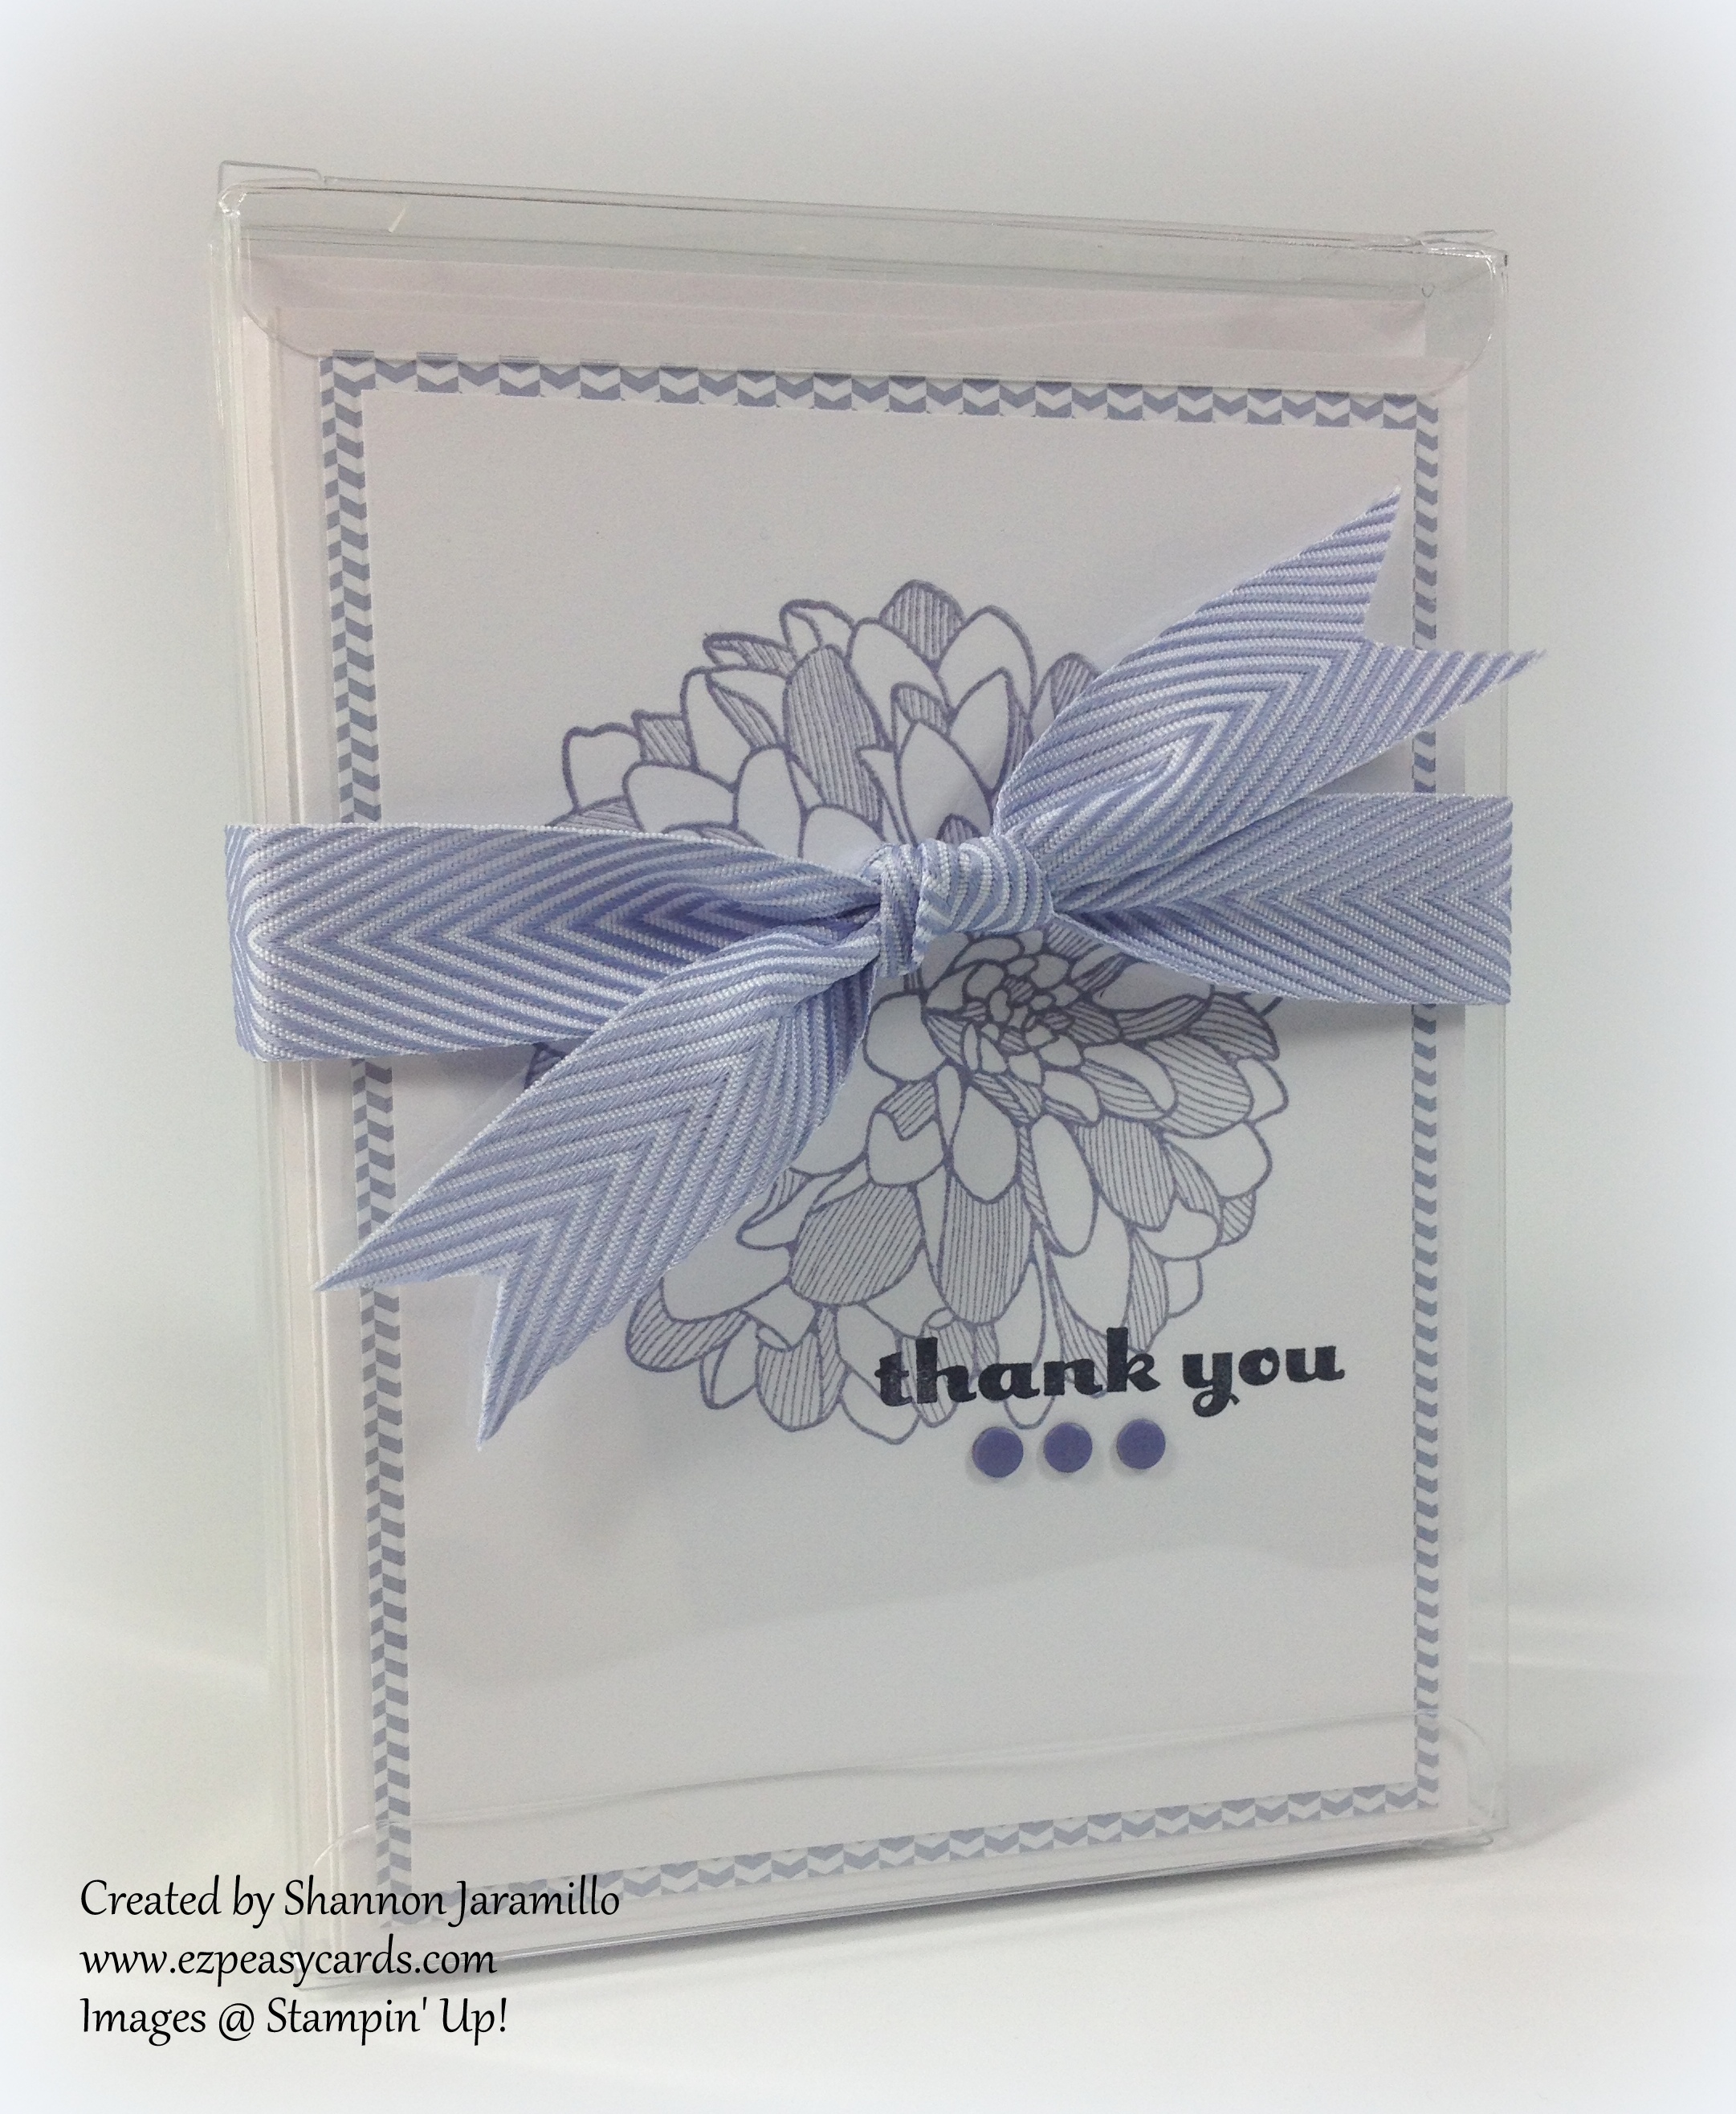
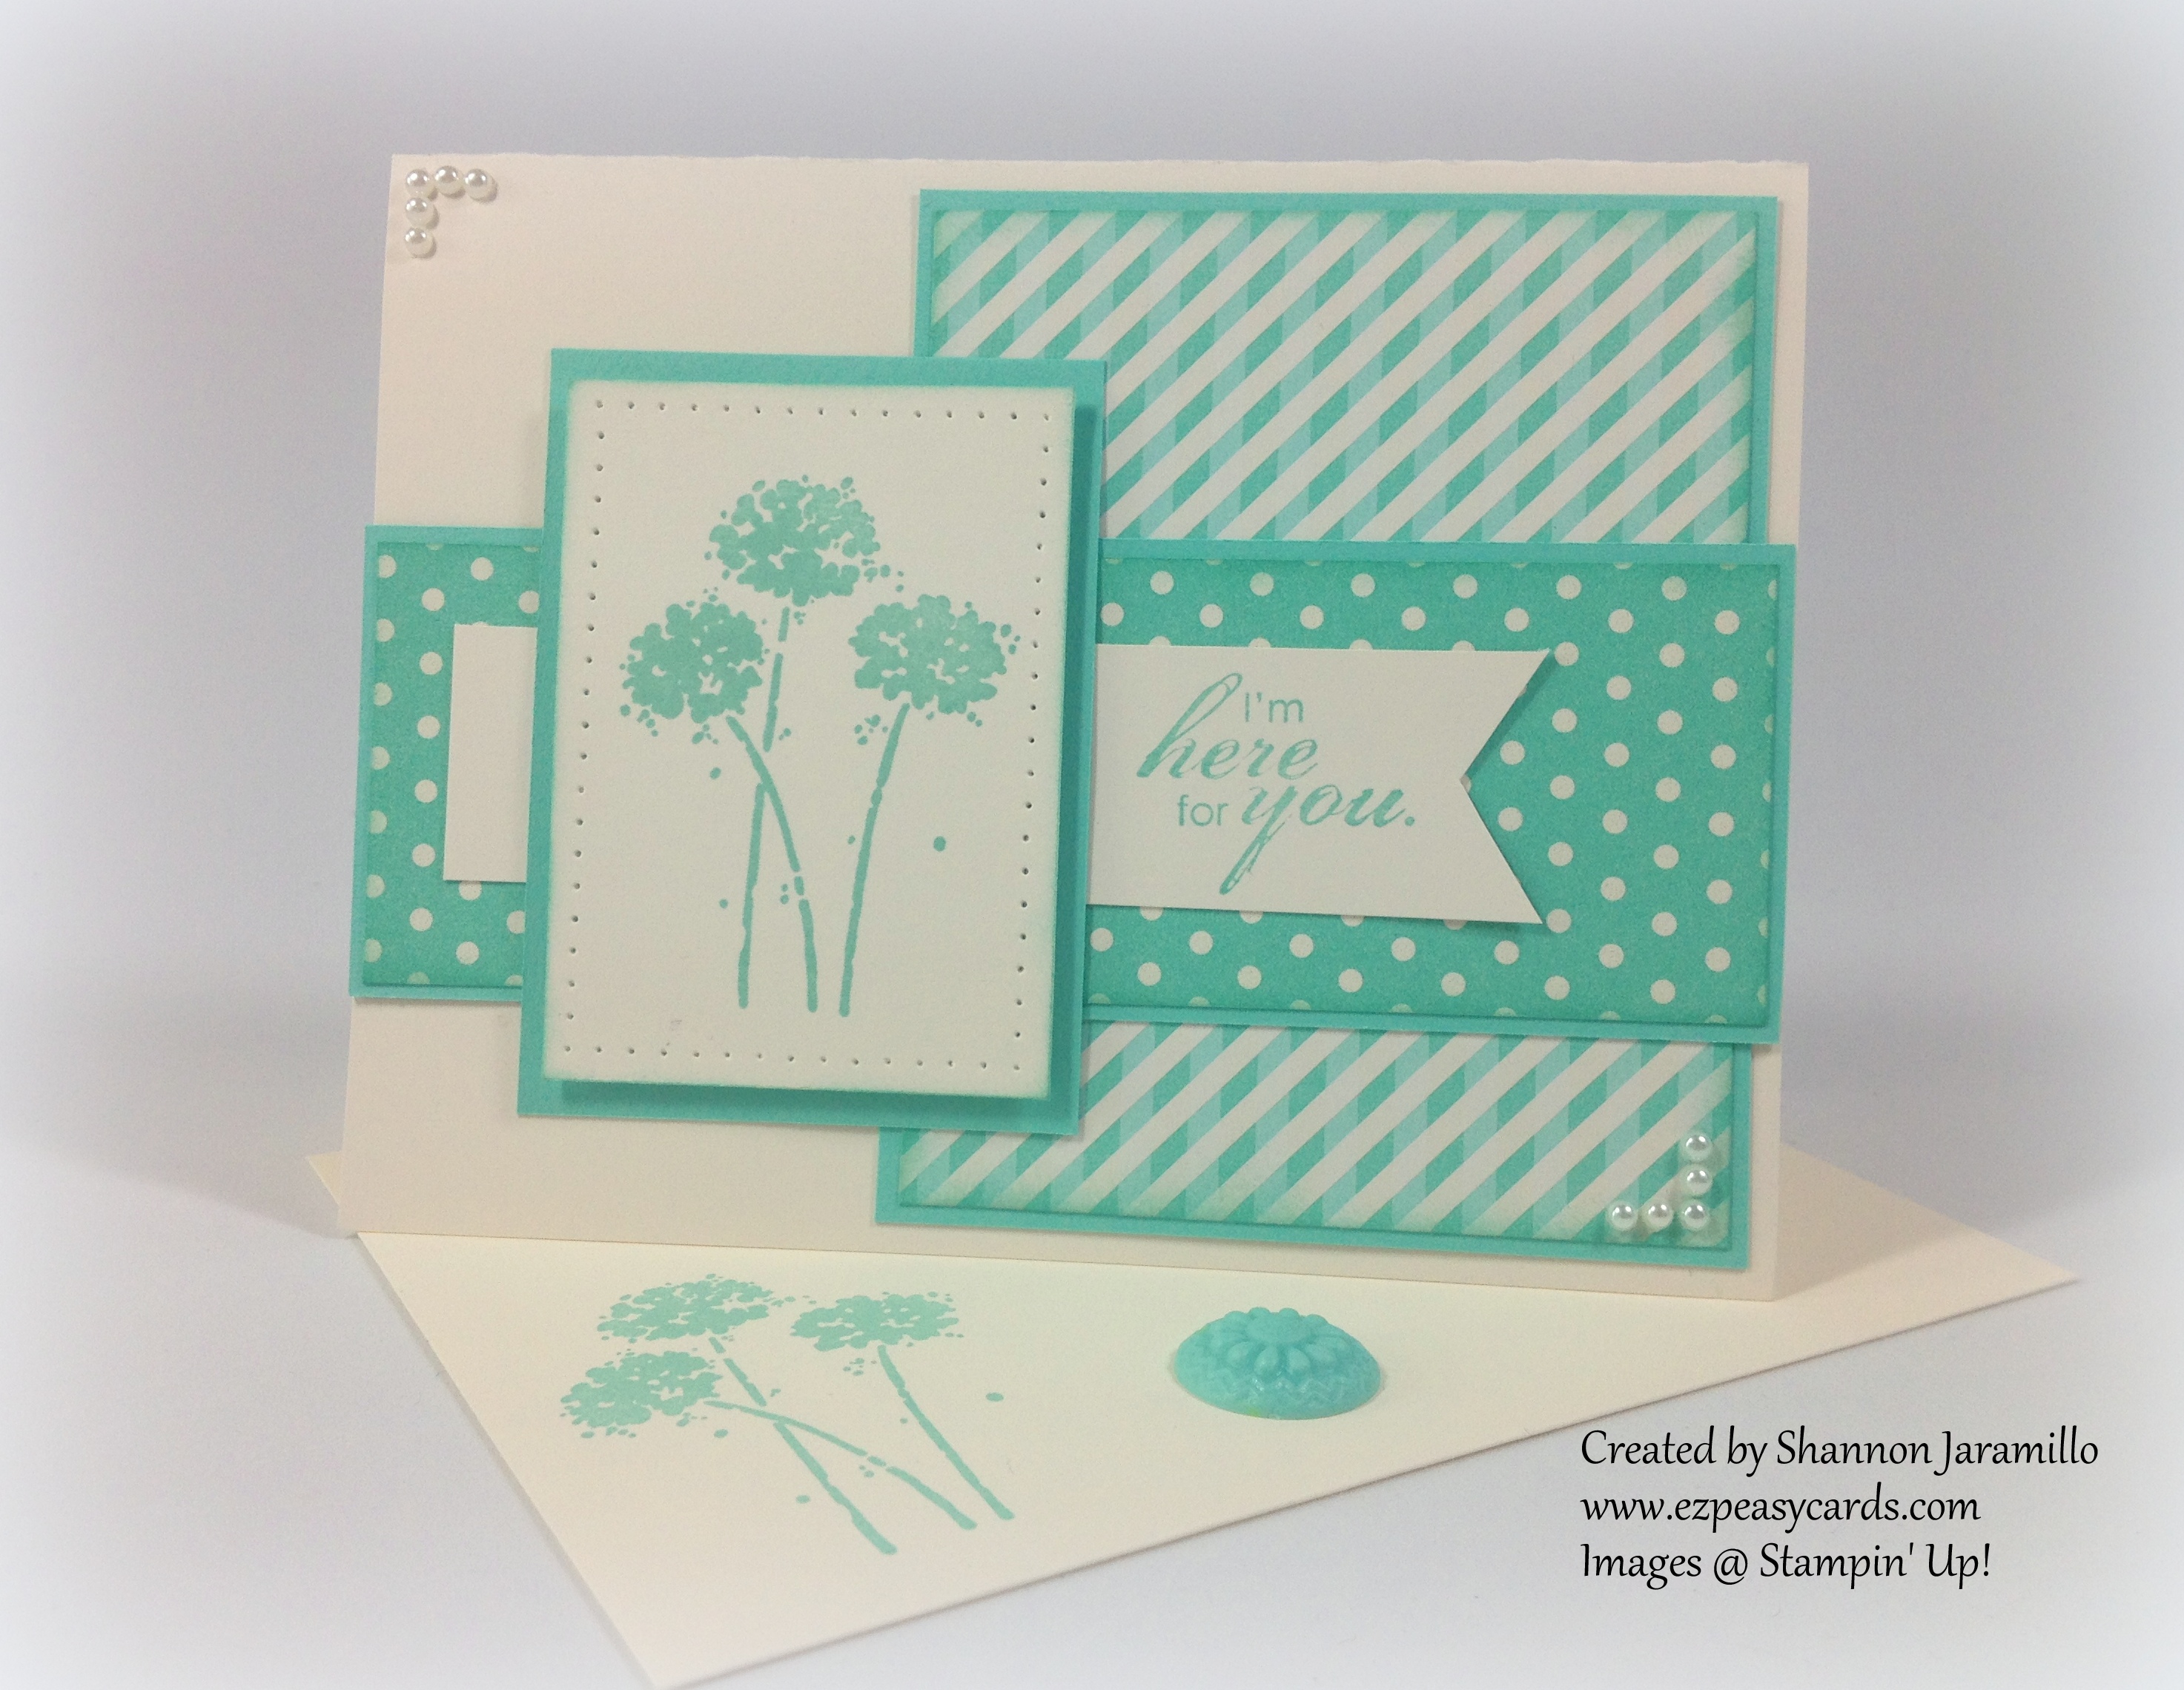
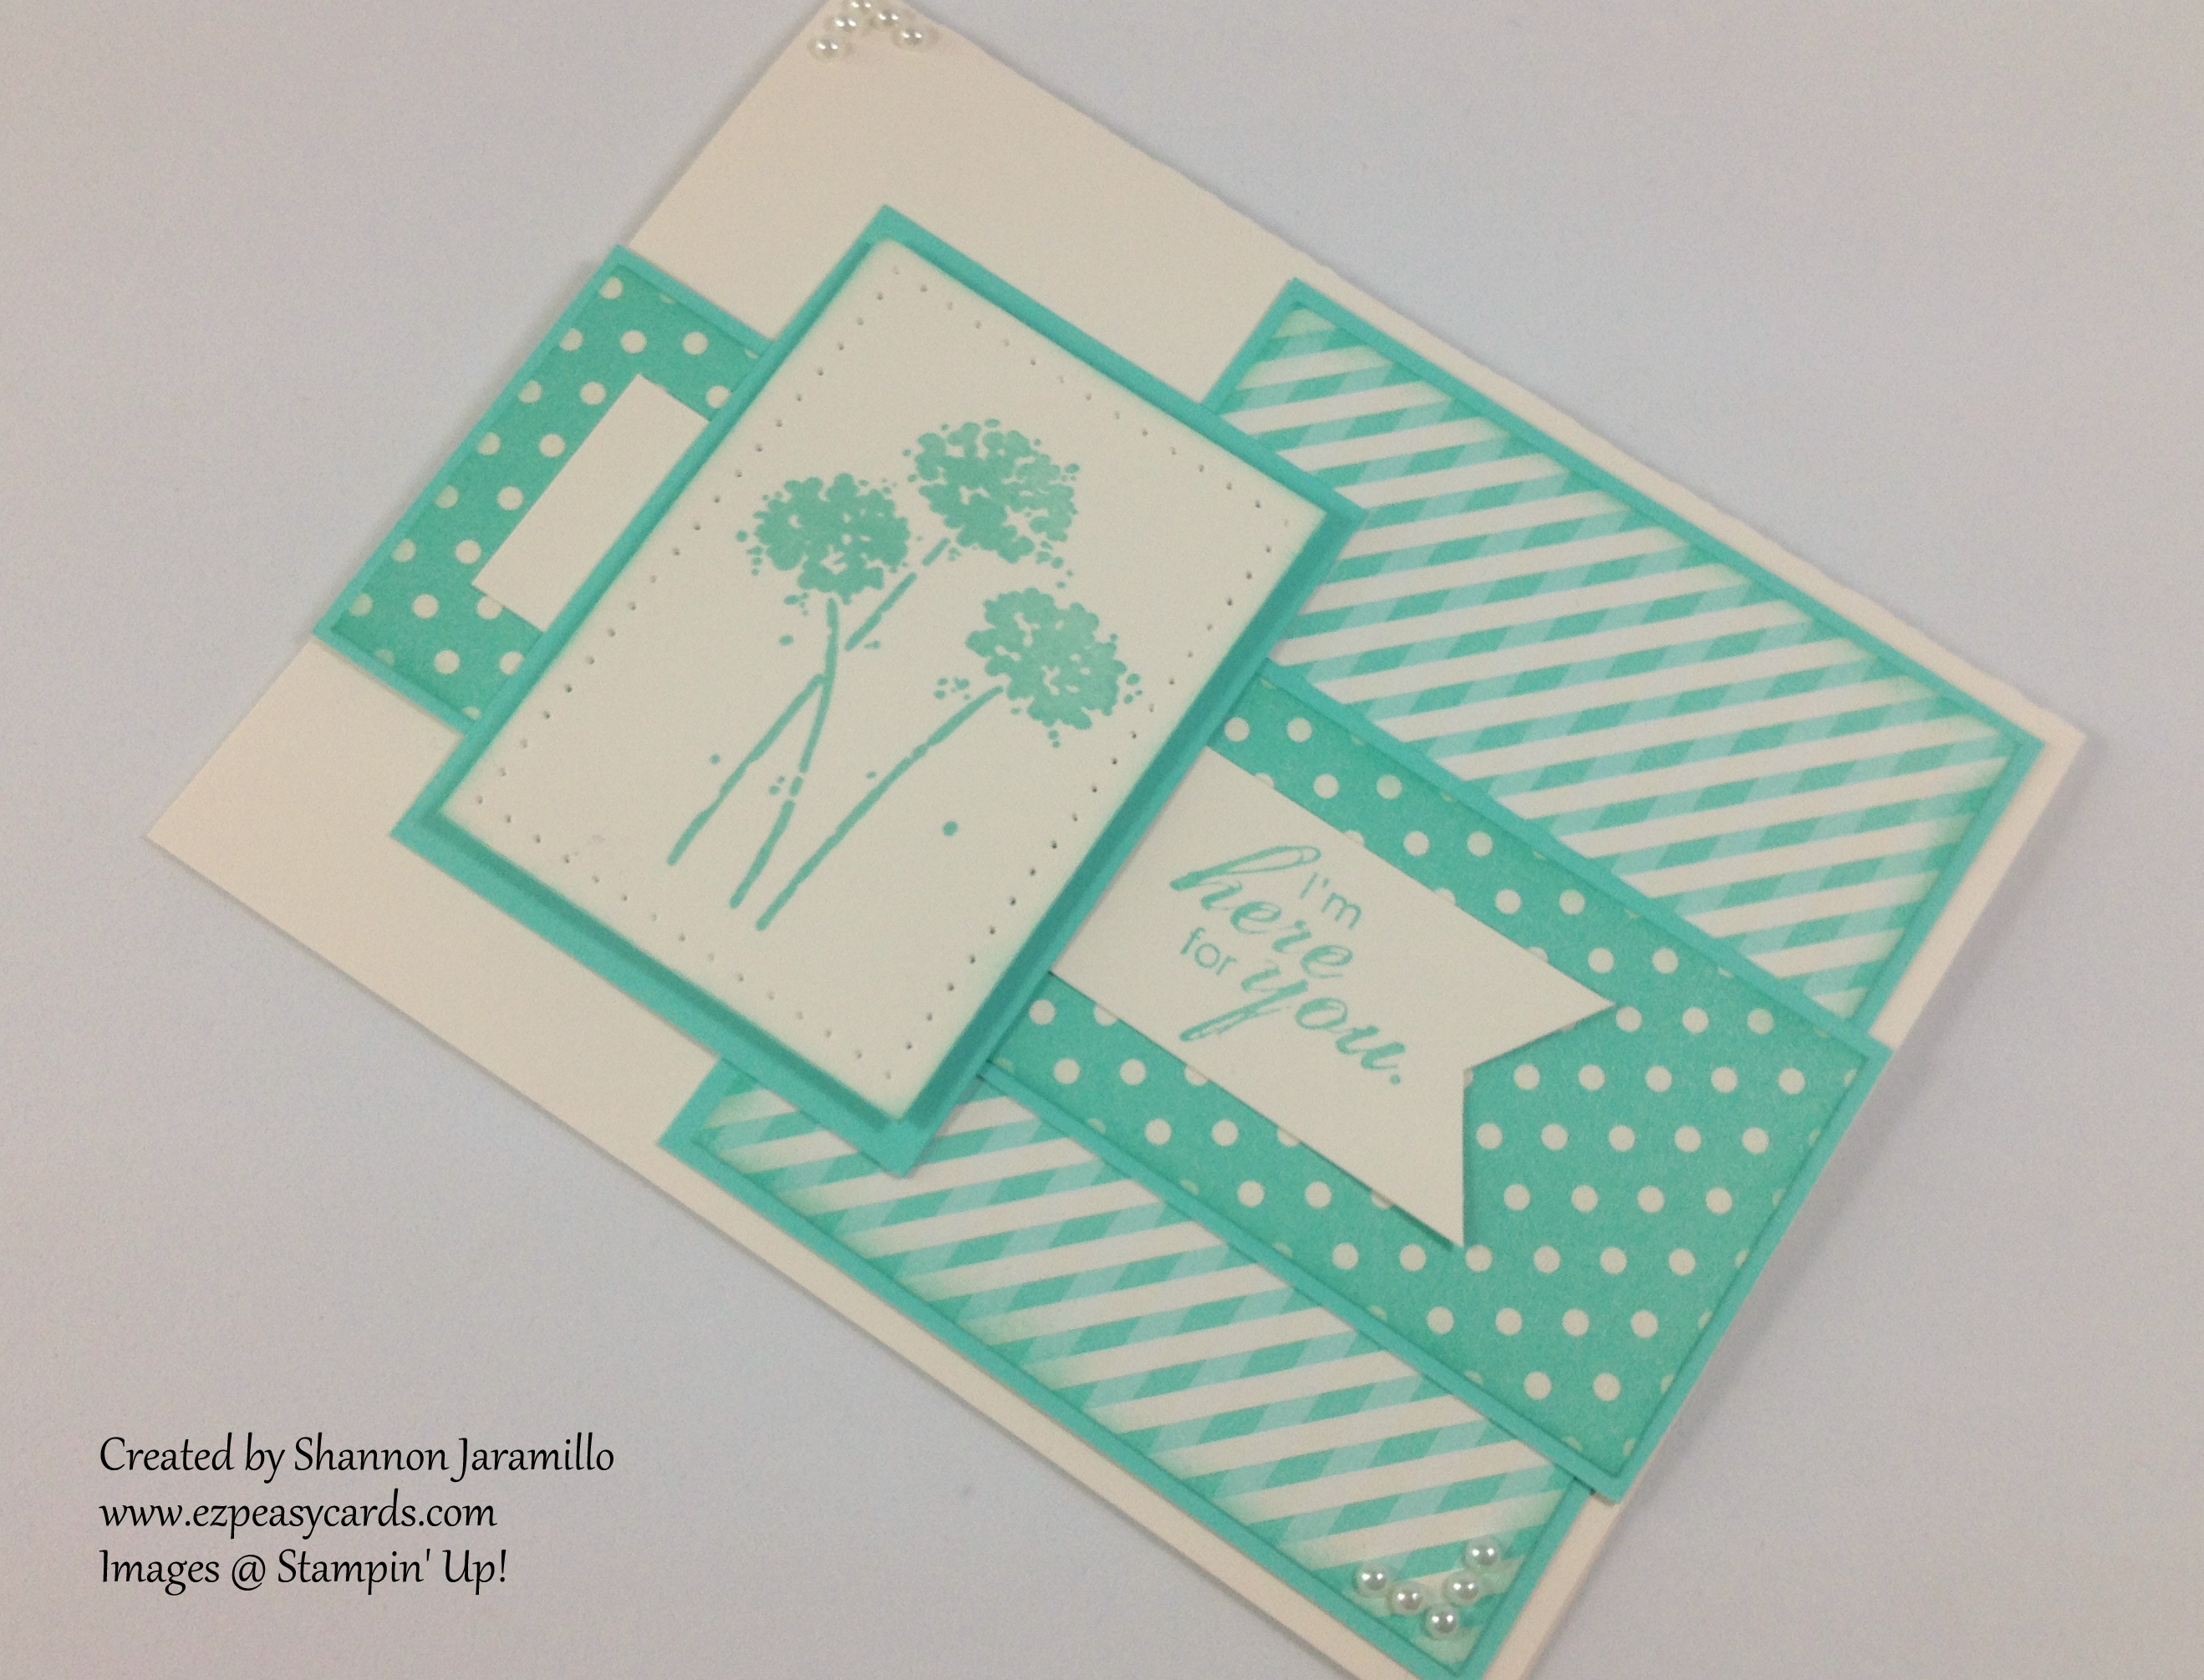
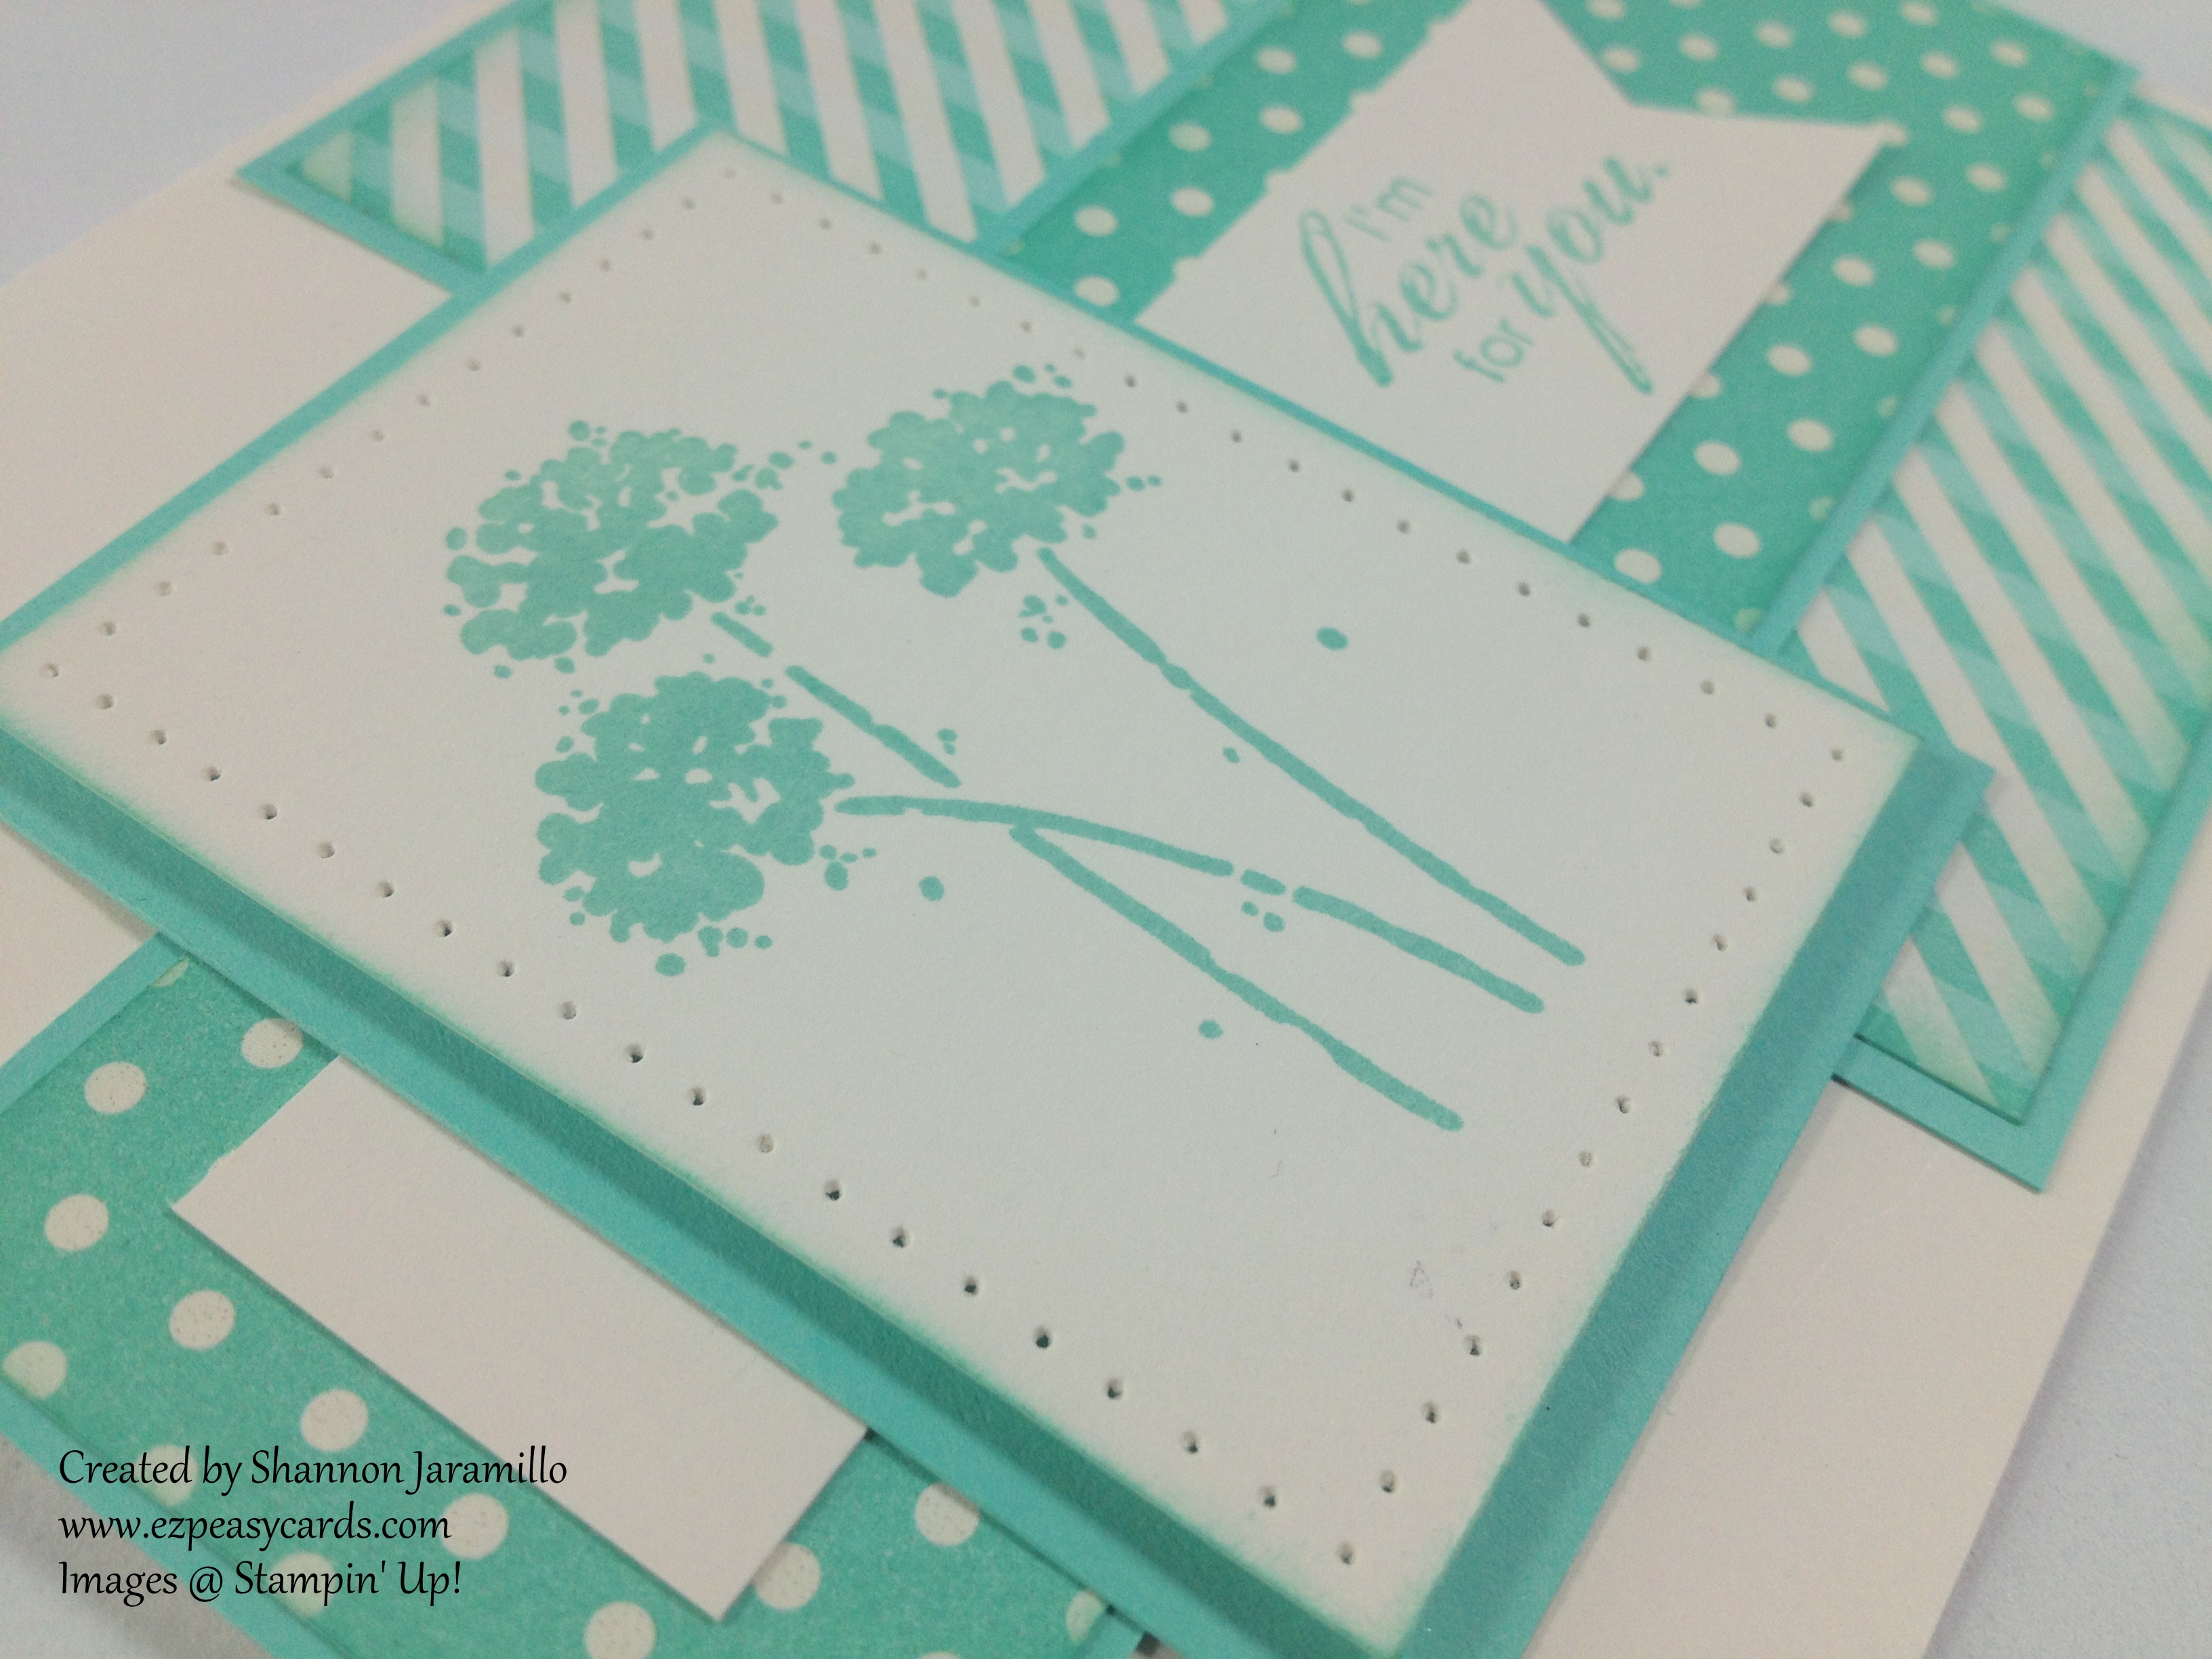
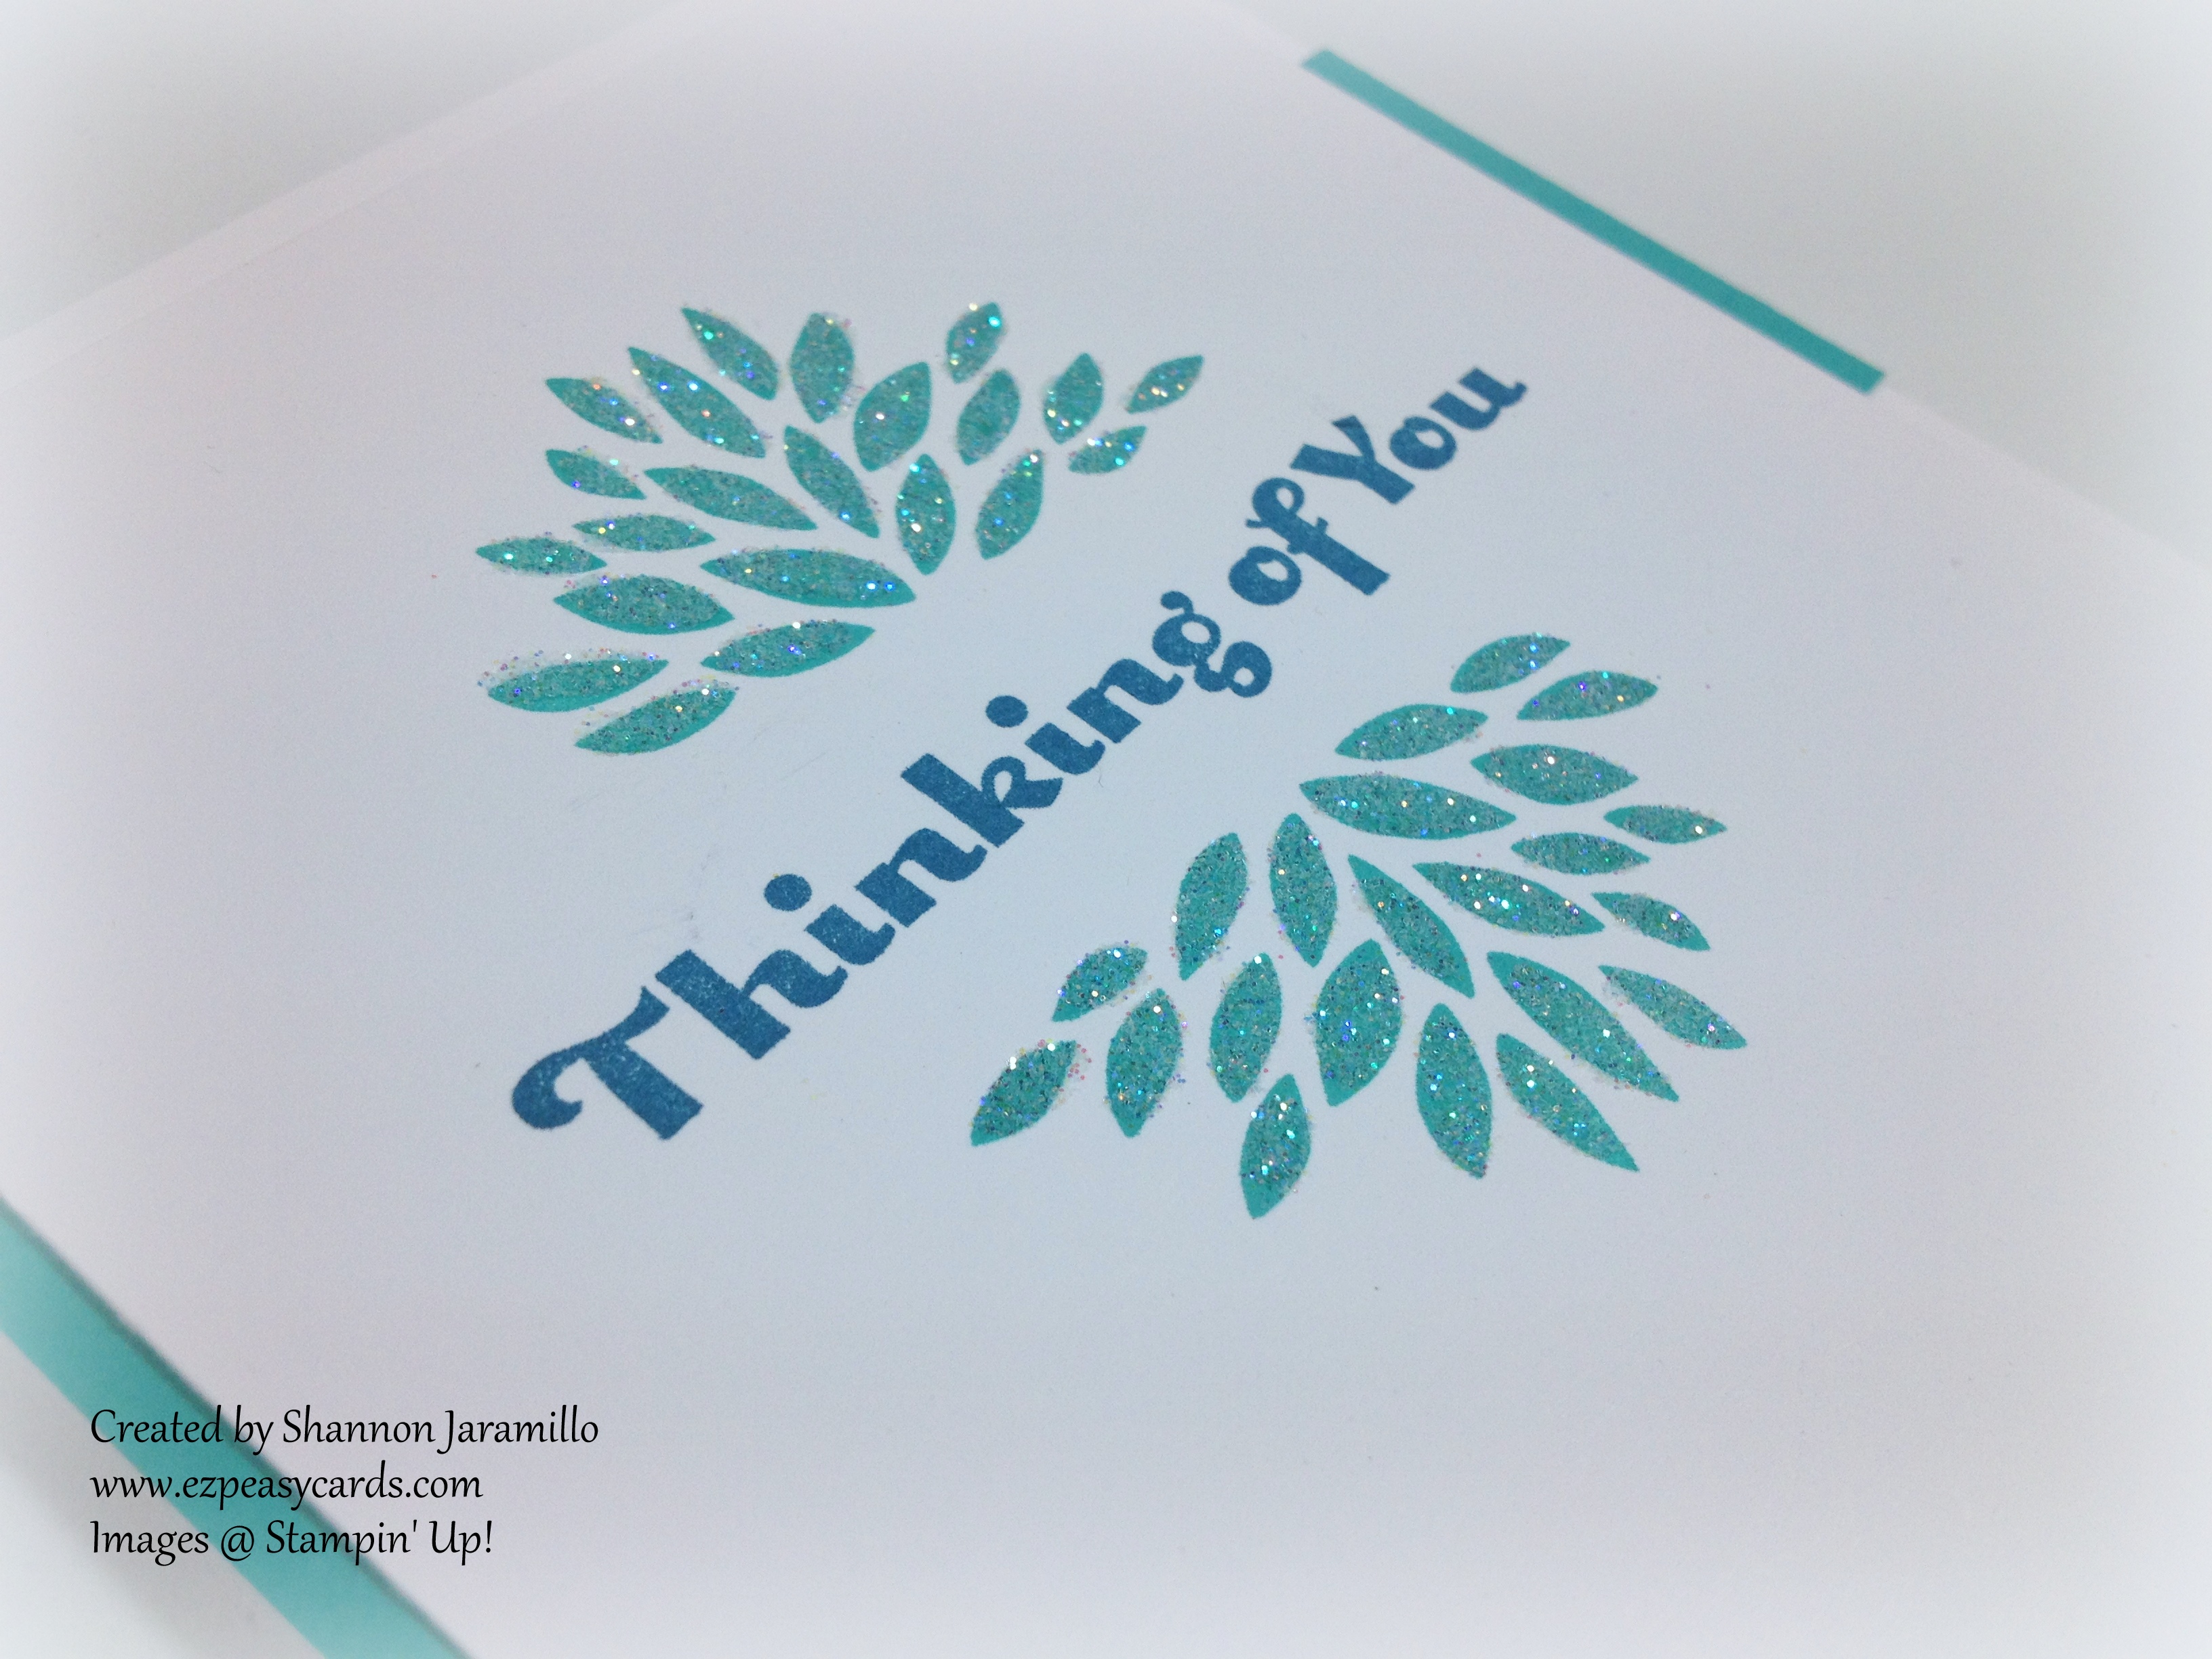


Saturday
Jan252014

Clean and Simple Saturday - Gift Card Set

Today I have a super quick, super cute set of note cards to share with you!

Everyone needs thank you cards, right? These were made using just one stamp set and coordinating colors from the Stampin' Up! Subtles Collection. Specifically, I used Pear Pizzazz, So Saffron, Marina Mist, Calypso Coral and Wisteria Wonder. But really any colors, or just one color, would work wonderfully as well.

I stamped the matching sentiment with Black Staz-On ink and it just jumps off the card! A layer of coordinating Designer Series Paper frames the top layer and really brings the color out.

And of course, my beloved Candy Dots are the icing on the cake :)

I found these clear boxes on the internet somewhere and I think they work perfectly for packaging these little guys up. A coordinated piece of ribbon and voila! A gift anyone would cherish.

I hope you have enjoyed my project today! I thank you so much for stopping by!

Stampin Supplies:

Friday
Jan242014

Pal Paper Arts Sketch Challenge #189

Today's card was created for the Pals Paper Arts Challenge...this week it is a sketch challenge!

I kept it very clean and light in Coastal Cabana. I've been using this color quite a bit recently!

I love the combination of the stripes and polka dots, they compliment and offset each other nicely. A clean and simple flower image from the Best of Sale-A-Bration stamp set and a simple sentiment from the Blooming with Kindness stamp set work very nicely together.

Stamping with a light color can be tricky because with the light color, the image may not have as much impact as you would like. I ramped that up just a notch by adding paper piercing along the edge. And I carried the sentiment banner over to the other side of the flower image to balance everything out.

I hope you find time to play along with the challenge this week!

Thanks to a Pal who has a programmer husband, I now have these awesome images in my supply list. You can click on any of the images and they will link you directly to my store! I think they are awesome and hope that they help you quickly visualize the products and how I have used them :)

Thanks for stopping by! 

Stampin Supplies: